
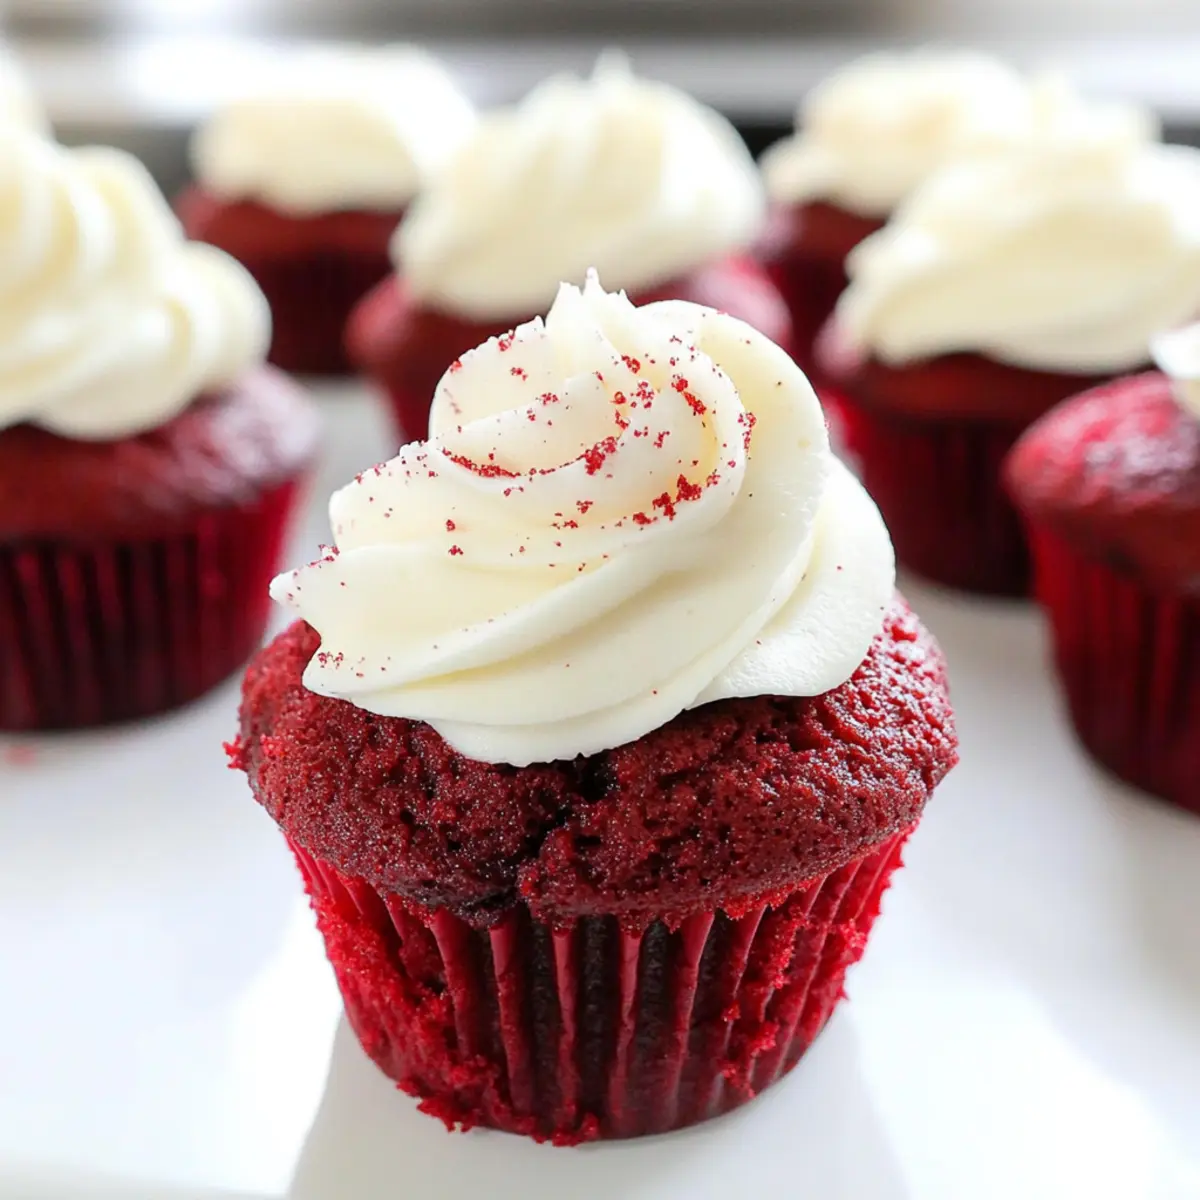
It was a chilly afternoon when the allure of red velvet cupcakes hit me like a cozy hug! I’d been searching for a sweet treat that would satisfy my cravings while still being deliciously guilt-free. Enter these Gluten-Free Red Velvet Cupcakes: velvety, moist, and wholly vegan, they’re the perfect blend of indulgence and health-consciousness. What’s more, with just 15 minutes of baking time, they’re an effortless way to impress at any gathering—perfect for those last-minute celebrations. Plus, the luscious homemade dairy-free cream cheese frosting adds an irresistible tang that elevates every bite. Are you ready to experience this scrumptious delight? Let’s dive into the recipe!
Why Are These Cupcakes So Special?
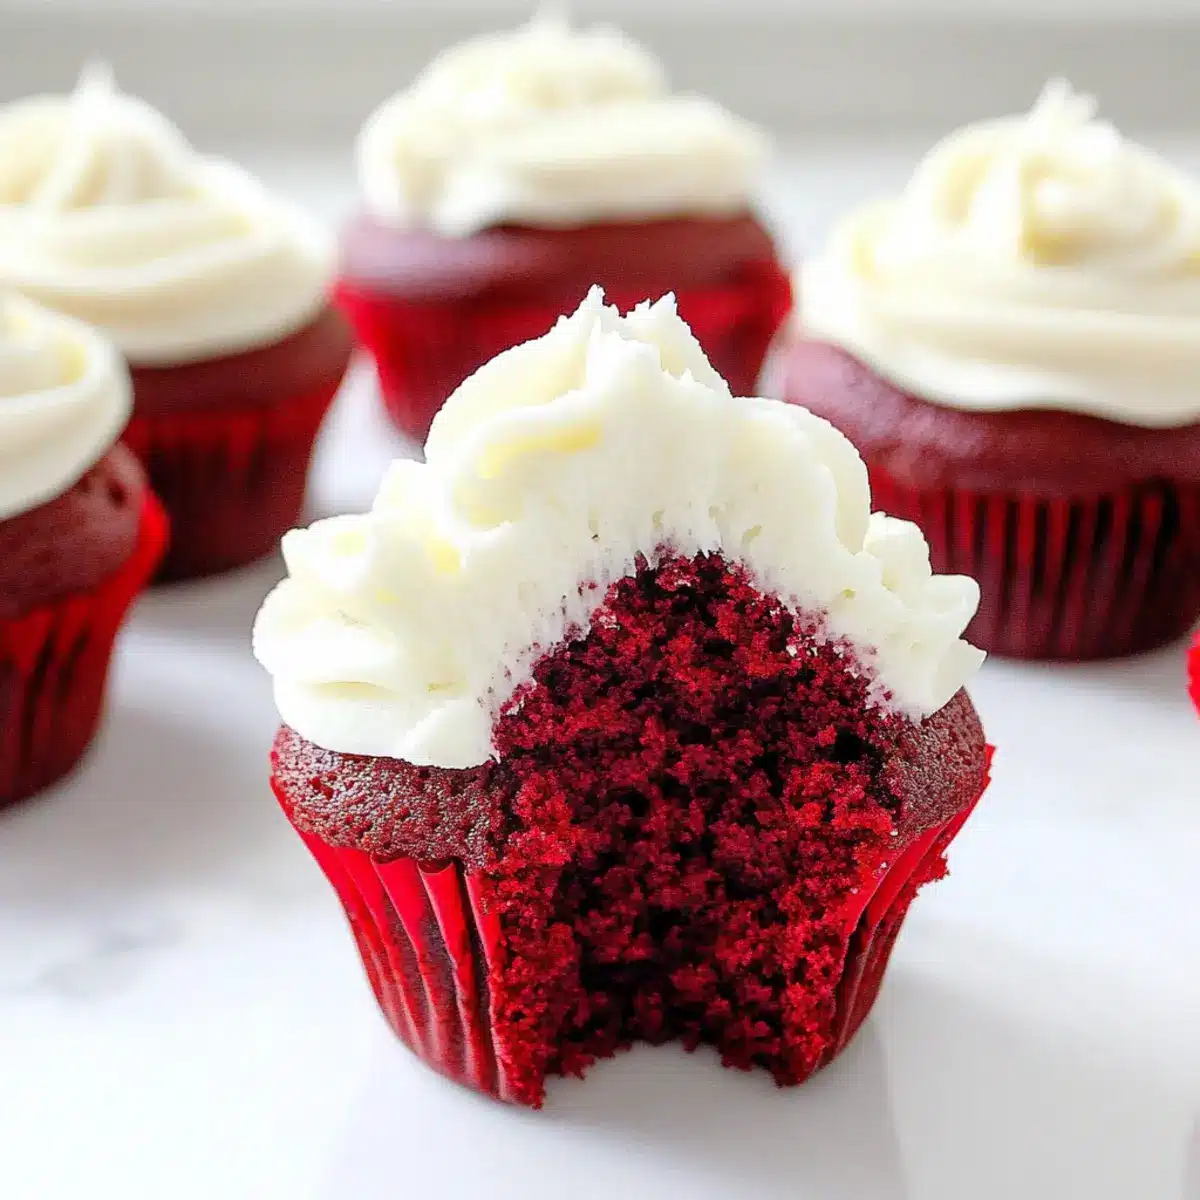
Decadent Taste: The rich flavor of cocoa combined with tangy cream cheese creates a perfect harmony that leaves everyone wanting more.
Allergy-Friendly: These cupcakes are vegan and gluten-free, making them suitable for those with dietary restrictions while still being indulgent enough for everyone to enjoy.
Quick and Simple: With only 15 minutes of baking time, this recipe is a lifesaver for last-minute gatherings or sweet cravings.
Versatile Options: Whether you want to serve them at a birthday party or a romantic dinner, these cupcakes fit right in! For variety, try them with a chocolate ganache from Raspberry Chocolate Lava Cupcakes.
Mouthwatering Frosting: Topped with a luscious dairy-free frosting, every bite is a delightful blend of creamy and sweet that elevates these cupcakes to show-stopping dessert status.
Gluten-Free Red Velvet Cupcake Ingredients
For the Cupcakes
- Gluten-Free Flour Blend – Serves as the foundation for the cupcakes; use a store-bought blend or homemade mixture for the best results.
- Sugar – Adds sweetness and helps with cupcake structure; substitute with coconut sugar for a lower glycemic option.
- Cocoa Powder – Provides the characteristic mild chocolate flavor; try carob powder for a unique twist.
- Baking Soda – A leavening agent ensuring the cupcakes rise properly; essential for light, fluffy texture.
- Apple Cider Vinegar – Activates the baking soda for a light texture; lemon juice works well as a substitute if needed.
- Vegetable Oil – Delivers moisture and richness; feel free to swap for melted coconut oil or applesauce for a lighter alternative.
- Almond Milk (or any plant milk) – Hydrates the batter, making it tasty and moist; oat milk is a great non-nut option.
- Vanilla Extract – Reinforces flavor; using high-quality extract makes a noticeable difference in the taste.
- Red Food Coloring – Achieves the classic red hue; opt for natural vegetable dyes for a cleaner, healthier option.
For the Frosting
- Dairy-Free Cream Cheese – Adds creaminess and tang to the frosting; vegan cream cheese substitutes also fit perfectly in this recipe.
These Gluten-Free Red Velvet Cupcakes are sure to bring joy to your table with their delightful flavors and textures!
Step‑by‑Step Instructions for Gluten-Free Red Velvet Cupcakes
Step 1: Preheat Your Oven
Begin by preheating your oven to 350°F (175°C), ensuring it reaches temperature before baking. While the oven warms up, line a cupcake pan with colorful cupcake liners—get creative here! This essential step prepares your baking environment and creates a fun presentation for your Gluten-Free Red Velvet Cupcakes.
Step 2: Combine Dry Ingredients
In a large mixing bowl, whisk together the gluten-free flour blend, sugar, cocoa powder, baking soda, and a pinch of salt until well combined. This mix forms the foundation of your cupcake batter, ensuring a uniform flavor and texture. The dry ingredients should be free of lumps, creating a smooth base for your moist red velvet treat.
Step 3: Mix Wet Ingredients
In a separate bowl, combine the vegetable oil, almond milk, apple cider vinegar, and vanilla extract. Whisk these together until the mixture is smooth and consistent. This step is crucial for obtaining a light and fluffy texture in your Gluten-Free Red Velvet Cupcakes.
Step 4: Merge Wet and Dry Mixtures
Carefully pour the wet ingredients into the bowl with the dry mixture. Gently stir until just combined, being cautious not to overmix—this ensures a tender, airy crumb. Add in your red food coloring gradually until you achieve that vibrant red hue characteristic of red velvet cupcakes.
Step 5: Fill the Cupcake Liners
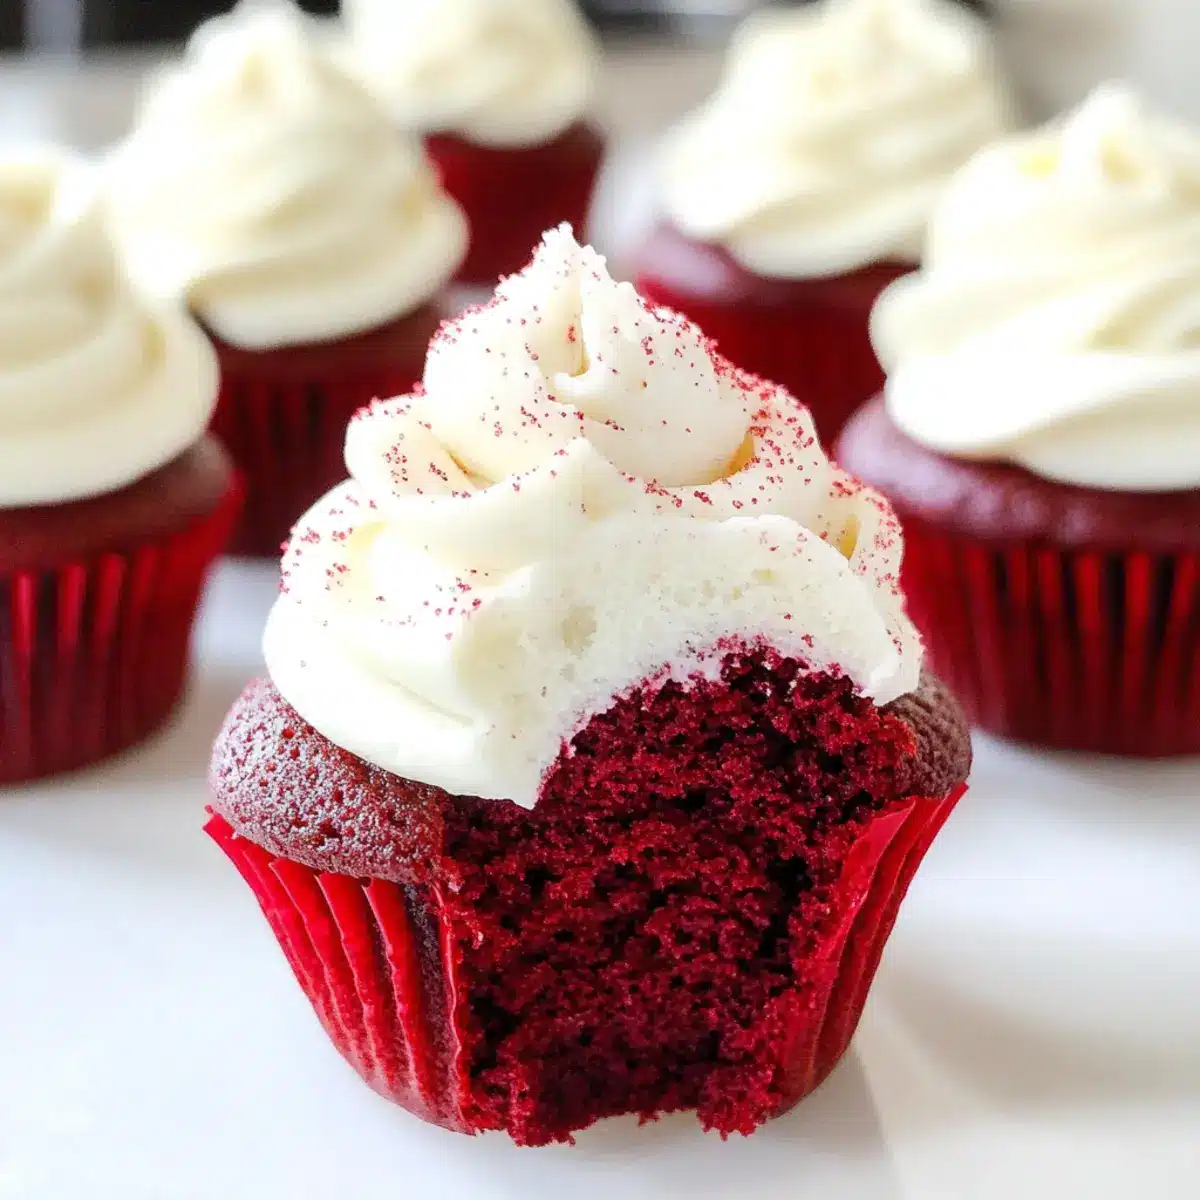
Using a spoon or ice cream scoop, fill each cupcake liner about two-thirds full with the batter. This allows enough space for the cupcakes to rise beautifully as they bake, creating that lovely dome shape we all adore. The bright red color should shine through as you work your way through the pan.
Step 6: Bake the Cupcakes
Place your filled cupcake pan in the oven and bake for 15-18 minutes. To check doneness, insert a toothpick into the center of a cupcake; it should come out clean or with a few moist crumbs. This step is vital for ensuring that your Gluten-Free Red Velvet Cupcakes are perfectly baked and irresistibly soft.
Step 7: Cool Before Frosting
Once baked, remove the cupcakes from the oven and let them cool in the pan for about 5 minutes. Then transfer them to a wire rack to cool completely. This prevents them from becoming soggy. Once cooled, these luscious cupcakes are ready to be frosted with your favorite dairy-free cream cheese frosting for that delightful finishing touch!
Make Ahead Options
These Gluten-Free Red Velvet Cupcakes are a dream for meal prep enthusiasts! You can bake the cupcakes up to 24 hours in advance; just store them in an airtight container at room temperature to keep them fresh and moist. To maintain their softness, avoid frosting them until just before serving. If you want to prepare the frosting ahead, you can make it up to 3 days in advance and refrigerate it in an airtight container. When ready to serve, simply bring the frosting to room temperature and give it a good stir before generously topping your beautiful cupcakes. With these make-ahead tips, you’ll effortlessly impress your guests with minimal fuss!
What to Serve with Moist Gluten-Free Vegan Red Velvet Cupcakes?
There’s something magical about pairing sweet, velvety cupcakes with complementary flavors that make your dessert experience unforgettable.
-
Creamy Coconut Ice Cream: The smooth and creamy texture of coconut ice cream provides a cool contrast to the warmth of the cupcakes, enhancing every bite.
-
Fresh Berries Medley: A mix of strawberries, raspberries, and blueberries adds a burst of freshness and a tartness that beautifully balances the sweetness of the cupcakes.
-
Zesty Lemonade: A glass of refreshing lemonade revitalizes the palate with its citrus zing, making it a perfect companion to these decadent treats.
-
Chocolate Ganache Drizzle: For an indulgent twist, drizzle rich chocolate ganache over the cupcakes. This adds a luscious layer of flavor that chocolate lovers will adore!
-
Whipped Coconut Cream: A dollop of whipped coconut cream complements the dairy-free frosting while keeping the dessert light and airy.
-
Coffee or Espresso: A cup of robust coffee or espresso pairs wonderfully, balancing the sweetness and highlighting the cocoa notes in the cupcakes.
-
Milkshake Delight: Serve up a homemade vanilla or chocolate milkshake. The creaminess offers a nostalgic pairing that’s sure to satisfy any sweet tooth.
-
Caramel Sauce: Drizzling a warm caramel sauce over each cupcake creates a lavishly sweet experience that’s hard to resist!
Choose one or mix and match these delightful pairings to create an unforgettable dessert spread that leaves everyone smiling!
Gluten-Free Red Velvet Cupcake Variations
Feel free to play around with these delightful options to make your cupcakes uniquely yours!
-
Dairy-Free Chocolate Ganache: Swap the frosting for a rich chocolate ganache made with dairy-free chocolate and coconut milk for a decadent touch.
-
Layered Cake Sensation: For a stunning dessert, double the recipe and bake in two 8-inch round pans. Stack with your favorite frosting in between—perfect for a birthday celebration!
-
Mini Chocolate Chips: Add mini dairy-free chocolate chips to the batter before baking for little bursts of chocolate in every bite. This elevates the chocolate flavor while giving a delightful texture contrast.
-
Spicy Twists: Mix in a dash of cinnamon or cayenne pepper into the batter for a warm, spicy kick that pairs well with the sweet frosting. This could surprise and excite your taste buds!
-
Fruit Infusion: Stir in some pureed strawberries or raspberries to the batter for a fruity twist that adds natural sweetness and a lovely flavor dimension. Just be sure to adjust wet ingredients as needed to keep the consistency right.
-
Nutty Flavor: Incorporate finely chopped nuts, such as walnuts or pecans, into the batter for extra crunch and a nutty flavor profile that complements the sweetness beautifully.
-
Flavor Enhancements: Consider infusing the batter with a splash of almond or hazelnut extract for that extra layer of flavor that’ll have everyone asking for your secret ingredient.
-
Coffee Kick: Add a teaspoon of instant coffee granules to deepen the chocolate flavor, creating a mocha-like profile that will elevate your cupcakes to the next level.
These variations provide endless possibilities for your Gluten-Free Red Velvet Cupcakes! For more exciting twists, you might enjoy the decadent options in Apple Cider Cupcakes or energizing Espresso Cupcakes. Enjoy the adventure in customizing!
How to Store and Freeze Gluten-Free Red Velvet Cupcakes
-
Room Temperature: Store unfrosted cupcakes in an airtight container for up to 3 days. This keeps them soft and delicious while allowing the flavors to meld.
-
Fridge: If you’ve frosted the cupcakes, keep them in the fridge for up to 5 days. Make sure they’re in a sealed container to prevent drying out and losing that creamy texture.
-
Freezer: For longer storage, freeze unfrosted cupcakes wrapped tightly in plastic wrap and then in aluminum foil for up to 3 months. Defrost at room temperature before frosting and enjoying!
-
Reheating: If enjoying at a later date, reheat frosted cupcakes in the microwave for about 10 seconds for a warm treat that’s just like fresh-baked Gluten-Free Red Velvet Cupcakes!
Expert Tips for Gluten-Free Red Velvet Cupcakes
-
Room Temperature Ingredients: Make sure all your ingredients are at room temperature. This helps create a uniform batter for your gluten-free red velvet cupcakes, ensuring they rise properly.
-
Don’t Over-Mix: Stir the batter until just combined to avoid tough cupcakes. Over-mixing can lead to a dense texture, which we want to avoid for a light and fluffy result.
-
Check for Doneness Early: Ovens can vary considerably! Start checking for doneness a minute or two before the 15-minute mark by inserting a toothpick—cupcakes should be moist but not wet when done.
-
Use Quality Ingredients: Opt for high-quality cocoa powder and vanilla extract. These key ingredients significantly enhance the flavor of your gluten-free red velvet cupcakes.
-
Substitutions Matter: If using substitutes like lemon juice for vinegar, ensure they’re in the same measurements. This affects the overall bet with your gluten-free flour blend.
-
Cooling Time is Key: Let the cupcakes cool completely before frosting. This prevents the frosting from melting and maintains that beautiful creamy layer on top!
Gluten-Free Red Velvet Cupcakes Recipe FAQs
What kind of gluten-free flour is best for these cupcakes?
I recommend using a finely milled gluten-free flour blend that contains xanthan gum. This helps achieve a light and fluffy texture similar to regular flour. You can find ready-made blends at most grocery stores, or you can mix your own using a combination of brown rice flour, almond flour, and tapioca flour for the best results.
How should I store my baked gluten-free red velvet cupcakes?
Store unfrosted cupcakes in an airtight container at room temperature for up to 3 days. If you’ve already frosted them, you can keep them in the refrigerator for up to 5 days. Ensure they’re sealed well to maintain moisture and prevent them from drying out!
Can I freeze these cupcakes? What’s the best way to do it?
Absolutely! To freeze unfrosted gluten-free red velvet cupcakes, first wrap each cupcake tightly in plastic wrap, then place them in a freezer-safe bag or container. This method will protect them from freezer burn and keep them fresh for up to 3 months. When you’re ready to enjoy them, simply defrost at room temperature and frost once completely thawed!
What can I do if my cupcakes turn out dense?
If your cupcakes are dense, it could be due to over-mixing the batter or not measuring the ingredients accurately. Make sure to mix until just combined and use proper measuring techniques—spoon the flour into your measuring cup and level it off with a knife instead of scooping directly. If they still seem heavy, try reducing the baking time next time and keep an eye on them during baking.
Are these cupcakes suitable for those with nut allergies?
Certainly! You can make these cupcakes nut-free by substituting almond milk with oat milk or any other nut-free plant milk. Additionally, if you choose a gluten-free flour blend that does not contain nuts, they will be safe for individuals with nut allergies. Always double-check labels to ensure safety!
Can I make the cream cheese frosting ahead of time?
Yes, you can prepare the dairy-free cream cheese frosting ahead of time! Store it in an airtight container in the refrigerator for up to 5 days. When you’re ready to use it, give it a good stir to bring back its creamy texture before spreading it on your gluten-free red velvet cupcakes.
Decadent Gluten-Free Red Velvet Cupcakes Everyone Will Love
Ingredients
Equipment
Method
- Preheat your oven to 350°F (175°C) and line a cupcake pan with cupcake liners.
- In a large bowl, whisk together the gluten-free flour blend, sugar, cocoa powder, baking soda, and a pinch of salt.
- In another bowl, combine the vegetable oil, almond milk, apple cider vinegar, and vanilla extract. Mix until smooth.
- Gradually pour the wet mixture into the dry ingredients, stirring gently until just combined. Add red food coloring until desired hue is achieved.
- Fill each cupcake liner about two-thirds full with the batter.
- Bake for 15-18 minutes, or until a toothpick comes out clean. Check for doneness early.
- Allow the cupcakes to cool in the pan for 5 minutes, then transfer to a wire rack to cool completely before frosting.
Leave a Reply