
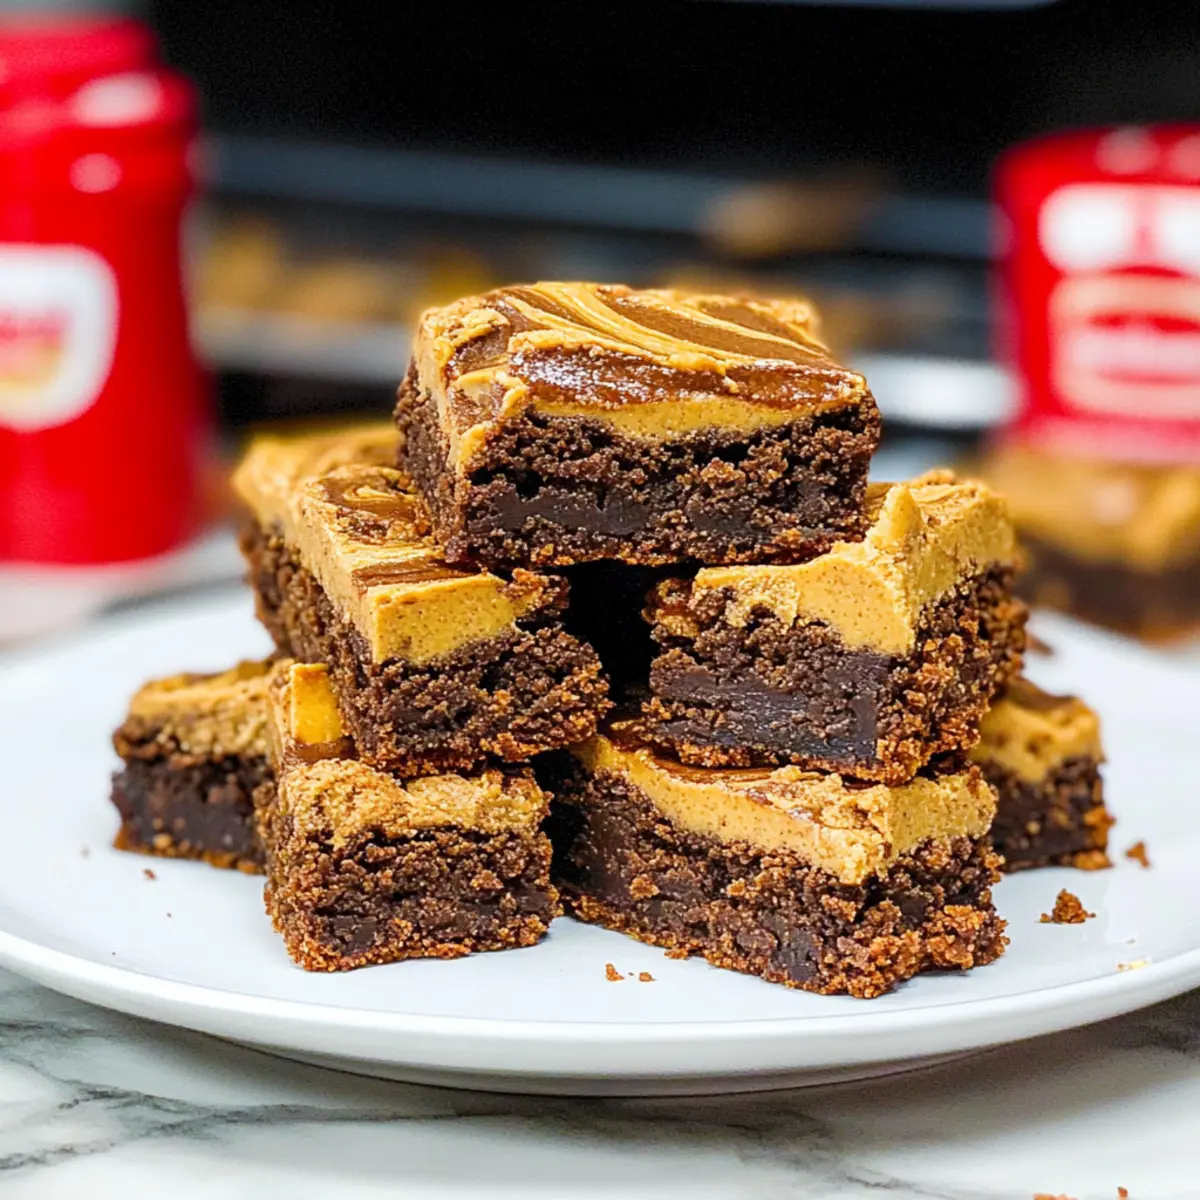
When I first sank my teeth into a fudgy Biscoff brownie, it felt like discovering a hidden gem in my own kitchen. This delightful treat combines a crumbly Biscoff cookie crust with a luxurious chocolate center, creating a dessert that’s as irresistible as it is satisfying. Not only are these Biscoff brownies a show-stopper for gatherings, but they also come together quickly, making them perfect for those days when you crave something sweet without the hassle. Plus, for my vegan friends out there, I’ve included tips to whip up an eggless version that’s just as delicious! Ready to dive into a world of rich flavors and tempting textures? Let’s get baking!
Why Are Biscoff Brownies So Irresistible?
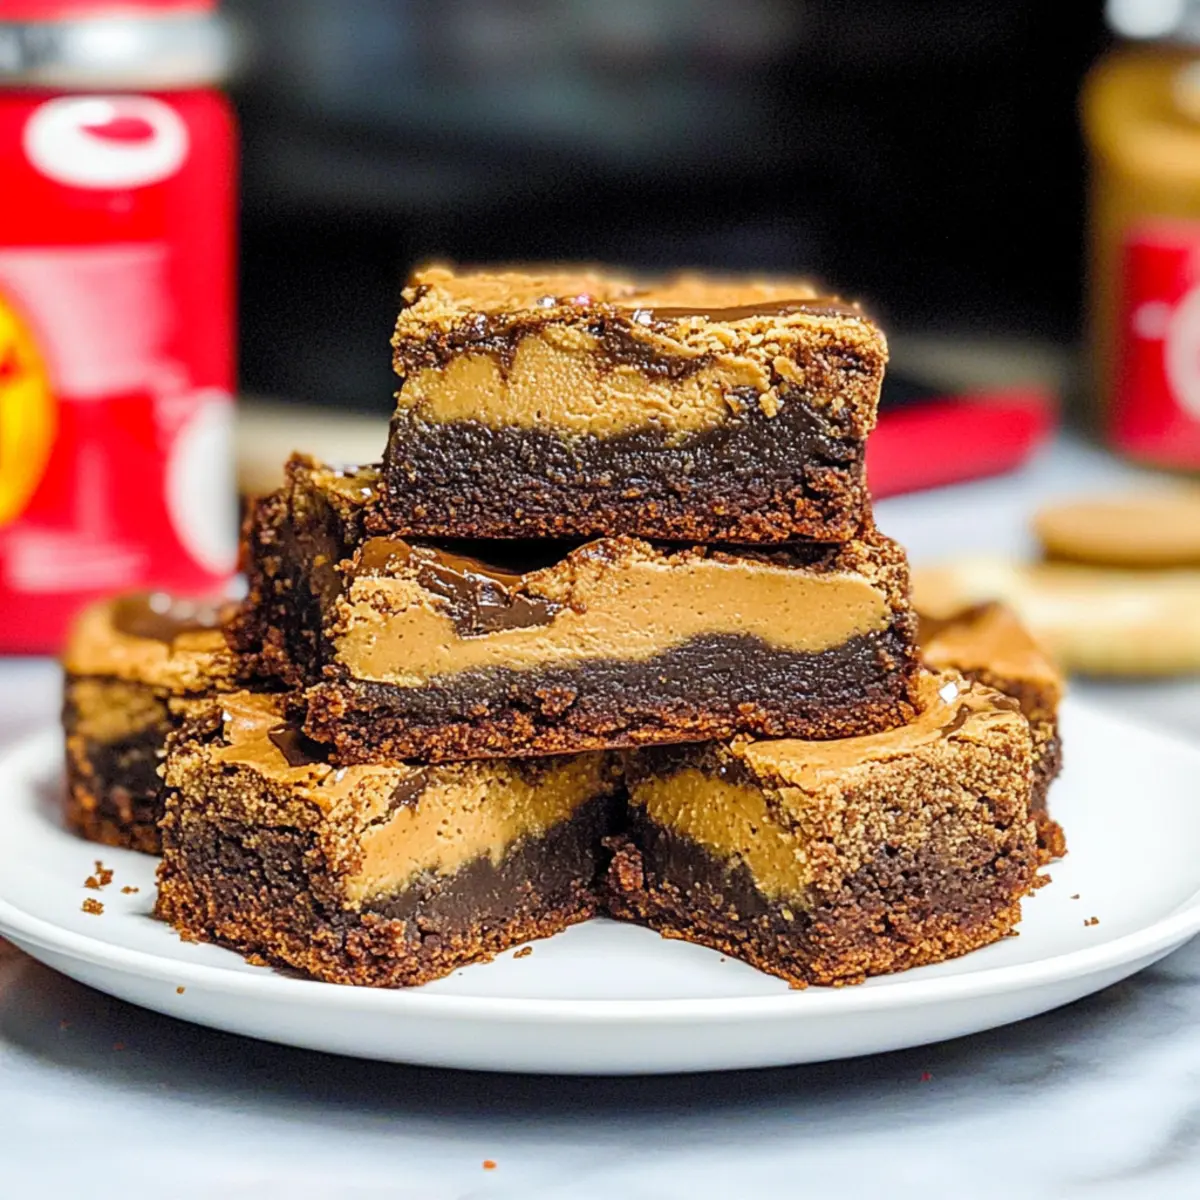
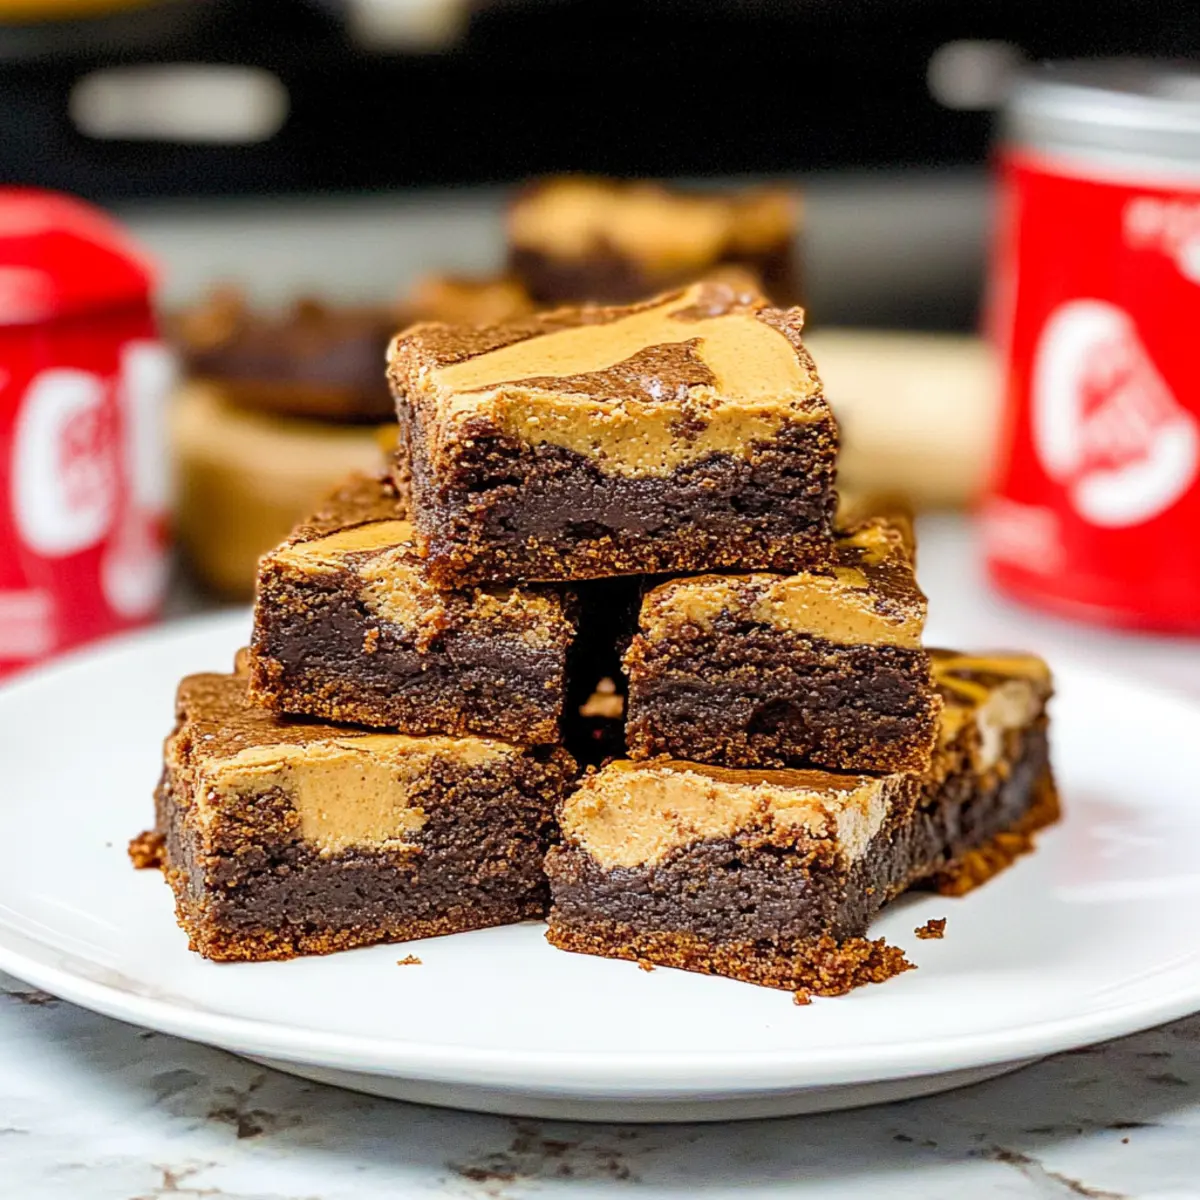
Decadent Delight: These fudgy Biscoff brownies feature a rich chocolate center paired with a buttery cookie crust, making every bite a heavenly experience.
Quick & Easy: Perfect for those moments when you crave something sweet, these brownies come together in no time, so you won’t be waiting long to indulge.
Versatile Variations: You can easily customize the recipe—try adding chocolate chips or experimenting with nutty flavors for a delightful twist.
Crowd-Pleasing Treat: Whether for a casual get-together or a special celebration, these brownies will impress friends and family alike! For more unique flavor combinations, check out my Biscoff Cookie Cinnamon Rolls that would complement these treats wonderfully.
Vegan-Friendly Option: With simple substitutions, you can create an eggless version that maintains all the decadent flavor, ensuring everyone can enjoy a taste of these delights!
Biscoff Brownie Ingredients
For the Cookie Crust
• Crushed Biscoff Cookies – 1 ½ cups; forms the flavorful base crust. Substitute with any Biscoff-style cookies if needed.
• Salted Butter – ½ cup, melted; ensures a rich taste—cool before using to avoid cooking the eggs.
For the Brownie Batter
• Large Eggs – 2, room temperature; binds the ingredients for a perfect structure; use 2 flaxseed eggs for an eggless version.
• Granulated Sugar – ½ cup; sweetens the batter for that irresistible taste.
• Brown Sugar – ½ cup, packed; adds moistness and a hint of caramel flavor.
• Vanilla Extract – 2 tsp; elevates the overall flavor; vanilla bean paste is a lovely alternative.
• All-Purpose Flour – ½ cup; provides structure to these Biscoff brownies; gluten-free flour is a great substitution.
• Baking Cocoa – ⅓ cup unsweetened; delivers that deep chocolate richness; dark chocolate or Dutch-processed cocoa can work, too.
• Baking Powder – ¼ tsp; gives a slight lift for a balanced texture.
• Smooth Biscoff Spread – ⅓ cup; swirled in for added richness; warm it slightly if too firm to mix well.
Feel free to get creative with these ingredients, my fellow bakers!
Step‑by‑Step Instructions for Biscoff Brownies
Step 1: Preheat the Oven
Begin by preheating your oven to 350°F (175°C). While it warms up, grab an 8×8-inch baking pan and line it with parchment paper, leaving some overhang to easily lift out the brownies later. This little preparation makes for an effortless release from the pan and a perfect base for your delicious Biscoff brownies.
Step 2: Prepare the Crust
In a mixing bowl, combine 1 ½ cups of crushed Biscoff cookies with ½ cup of melted salted butter. Stir until the crumbs are fully coated and the mixture resembles wet sand. Press this mixture firmly into the bottom of the prepared baking pan to form an even crust. This buttery layer will be the perfect foundation for the fudgy brownie center.
Step 3: Mix the Wet Ingredients
In a large mixing bowl, beat together 2 large room temperature eggs, ½ cup of granulated sugar, and ½ cup of packed brown sugar until the mixture is thick and creamy, which should take about 1 minute with an electric mixer. The blend should become pale and fluffy, creating a wonderful base for the luscious Biscoff brownies you’re about to create.
Step 4: Add Remaining Wet Ingredients
Carefully mix in the ½ cup of cooled melted butter and 2 teaspoons of vanilla extract to the egg-sugar mixture, stirring until everything is well combined. This adds a rich flavor dimension to your brownies that pairs perfectly with the Biscoff spread you’ll be using later. The consistency should feel smooth and silky as you incorporate these wet ingredients.
Step 5: Incorporate Dry Ingredients
Sift together ½ cup of all-purpose flour, ⅓ cup of unsweetened cocoa powder, and ¼ teaspoon of baking powder directly into the wet mixture. Gently fold the dry ingredients until just combined, being careful not to overmix. The batter should remain thick and glossy, providing the perfect fudgy texture for your Biscoff brownies.
Step 6: Pour and Swirl
Spread the brownie batter evenly over the prepared Biscoff cookie crust, using a spatula for an even layer. Then, spoon ⅓ cup of warm smooth Biscoff spread over the top in dollops. Take a knife and gently swirl the spread into the batter to create beautiful marbled patterns. This delightful step adds an irresistible, rich flavor burst to each bite of your brownies.
Step 7: Bake
Carefully place the baking pan in the preheated oven and bake for 22–25 minutes. Keep an eye on the brownies; they are done when the edges are set and a toothpick inserted into the center comes out mostly clean, with a few moist crumbs. Removing them at the right time ensures a rich, fudgy texture that will be a hit.
Step 8: Cool and Slice
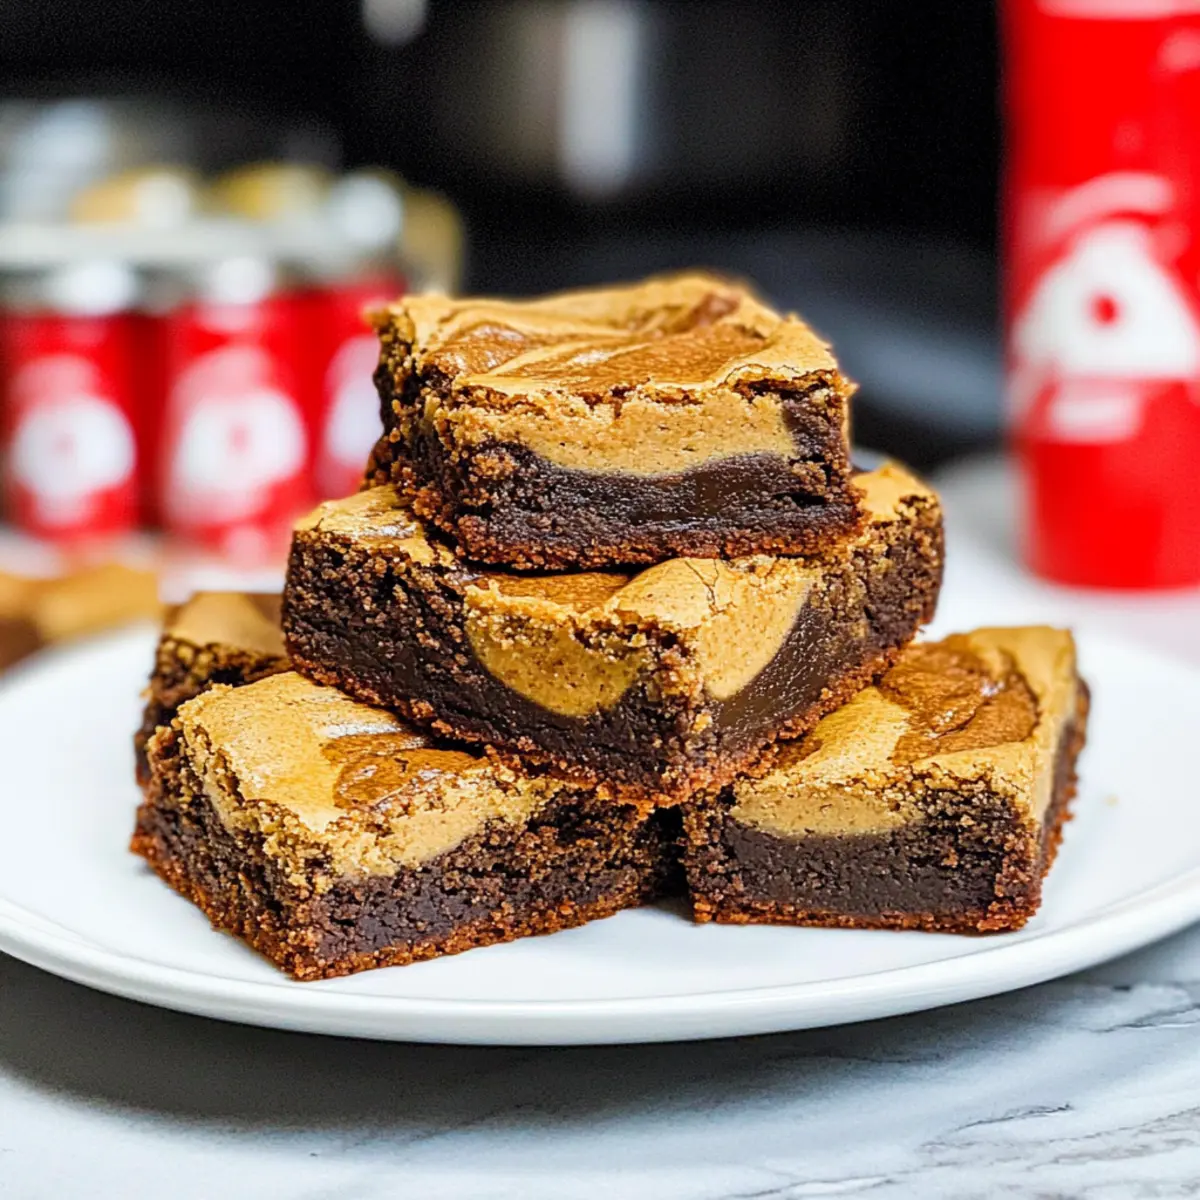
Once baked, allow the Biscoff brownies to cool completely in the pan. This will take about an hour; patience is key! Once cool, grasp the parchment overhang and lift the brownies out of the pan. Cut them into squares using a sharp knife. For clean cuts, consider warming your knife in hot water before slicing. These decadent treats are then ready to be enjoyed!
What to Serve with Fudgy Biscoff Brownies?
When you’re ready to elevate your dessert experience, consider these delightful pairings that will turn your fudgy Biscoff brownies into a feast for the senses.
-
Vanilla Ice Cream: The creamy sweetness of vanilla ice cream perfectly balances the rich, chocolatey brownies, creating a delicious contrast in texture.
-
Fresh Berries: Juicy strawberries or raspberries add a burst of freshness. Their tartness cuts through the sweetness and enhances the indulgent chocolate flavors.
-
Whipped Cream: Light and airy whipped cream on top of your brownies introduces a soft texture that complements the dense, fudgy layers below.
-
Espresso or Coffee: A shot of espresso or a steaming cup of coffee elevates your dessert moment, deepening the chocolate taste and providing a delightful after-dinner kick.
-
Chocolate Sauce Drizzle: For an extra touch of indulgence, drizzle warm chocolate sauce over the brownies. This intensifies the chocolate experience and adds a luscious layer of goodness.
-
Caramel Sauce: A drizzle of salty caramel brings a sweet and savory twist, making every bite of fudgy Biscoff brownies incredibly decadent.
-
Nutty Toppings: Chopped almonds or hazelnuts sprinkled on top add a delightful crunch. Their nutty flavor pairs beautifully with the rich Biscoff and chocolate tones.
-
Milkshake: Blend leftover brownies into a creamy milkshake for a fun twist! The brownie chunks in each sip amplify the chocolate goodness in the drink.
-
Iced Tea: A refreshing glass of iced tea balances the dessert’s richness, acting as a perfect palate cleanser. Opt for a lightly sweetened or fruity blend for more flavor.
These pairings not only complement the flavors of your fudgy Biscoff brownies but also create an inviting atmosphere, transforming dessert into an unforgettable experience.
How to Store and Freeze Biscoff Brownies
Room Temperature: Store Biscoff brownies in an airtight container at room temperature for up to 3 days. This keeps them fresh and ready to satisfy your sweet cravings!
Fridge: If you prefer a slightly chilled treat, keep the brownies in the fridge for up to a week. Just make sure they’re well-wrapped to prevent them from drying out.
Freezer: For longer storage, freeze uncut Biscoff brownies for up to 2 months. Wrap them tightly in plastic wrap and aluminum foil to maintain their delicious flavors.
Thawing: To enjoy your frozen brownies, thaw them in the refrigerator overnight. This way, they’ll be ready to indulge without losing their fudgy texture!
Expert Tips for Biscoff Brownies
- Perfect Top: Whip the eggs and sugars until pale and fluffy to achieve that signature crackly top everyone loves.
- Clean Cuts: Chill the brownies in the refrigerator before slicing for cleaner edges; a warm knife makes cutting even easier.
- Pan Adjustment: If using a glass baking pan, lower the oven temperature to 325°F, and check for doneness a bit longer to avoid overbaking.
- Gentle Heating: Be cautious when warming the Biscoff spread; overheating can make it too liquid, resulting in a pool instead of beautiful swirls.
- Batch Doubling: If you want to share, simply double the ingredients and use a 9×13-inch pan for a larger batch of these delicious Biscoff brownies!
Biscoff Brownies Variations & Substitutions
Feel free to make these Biscoff brownies your own with these tantalizing ideas that will spark your creativity in the kitchen!
- Dairy-Free: Substitute butter with coconut oil and choose plant-based milk for a delicious vegan version.
- Gluten-Free: Use a 1:1 gluten-free flour blend for a tasty gluten-free treat that everyone can enjoy.
- Nutty Twist: Fold in chopped walnuts or pecans for added crunch and nutty flavor that elevates every bite.
- Chocolate Lovers: Add semi-sweet or dark chocolate chips to the brownie batter for a richer chocolate experience.
- Minty Fresh: Mix in a few drops of peppermint extract for a delightful mint twist that pairs wonderfully with chocolate.
- Oreo Swap: Replace Biscoff cookies with Oreo cookies for a different flavor that feels like a fun treat!
- Spicy Touch: Sprinkle a bit of cinnamon or cayenne pepper for a surprising heat that counters the sweetness.
- Fruity Addition: Top your brownies with fresh raspberries or strawberries for a burst of freshness that brightens the flavor profile.
Each variation can make these brownies uniquely yours, just as I love customizing flavors in my own kitchen! If you’re also on the hunt for more delectable treats, you might want to try my Raspberry Swirl Brownies or the indulgent Biscoff Cookie Cinnamon Rolls for dessert inspiration. Enjoy experimenting!
Make Ahead Options
These fudgy Biscoff brownies are perfect for meal prep enthusiasts! You can prepare the cookie crust and brownie batter up to 24 hours in advance, storing them separately in the refrigerator to maintain their freshness. Simply press the crust into the pan, cover, and refrigerate until needed. For the brownie batter, mix the wet and dry ingredients and store them in an airtight container. When you’re ready to bake, pour the brownie batter over the chilled crust, swirl the Biscoff spread, and bake as instructed. This way, you’ll have a delicious dessert with minimal effort and all the flavor just as if they were made fresh!
Biscoff Brownies Recipe FAQs
What kind of Biscoff cookies should I use?
You can use any Biscoff-style cookies to create your crust. Crush them finely and try to avoid cookies with too many dark spots, which can indicate they are past their prime. If you can’t find Biscoff cookies, similar speculoos-style cookies will work wonderfully too!
How should I store leftover Biscoff brownies?
Store your Biscoff brownies in an airtight container at room temperature for up to 3 days. If you’d like them to last longer, you can also keep them in the fridge for about a week. Just make sure they are well-wrapped to prevent any drying out—nobody wants a dry brownie!
Can I freeze Biscoff brownies, and how?
Absolutely! To freeze your Biscoff brownies, first, ensure they’re completely cooled. Wrap them tightly in plastic wrap and then again in aluminum foil to avoid freezer burn. They can be frozen uncut for up to 2 months. When you’re ready to enjoy them, simply thaw in the fridge overnight, and they’ll be just as fudgy and delicious!
What if my brownies turned out too cakey?
If your brownies ended up cakey instead of fudgy, it could be due to overmixing after adding the dry ingredients or baking them for too long. Next time, mix just until combined and check for doneness a minute or two earlier. If you’d like extra fudginess, try adding a bit more chocolate or reducing the flour by a tablespoon.
Can I make these brownies gluten-free?
Yes, you can easily make these Biscoff brownies gluten-free by substituting the all-purpose flour with a gluten-free equivalent. Ensure all your ingredients, including the Biscoff cookies and Biscoff spread, are certified gluten-free. This way, everyone can enjoy a slice of this delightful treat!
Is there an eggless version of the Biscoff brownies?
Definitely! For an eggless version, replace the 2 large eggs with 2 flaxseed eggs. To make a flaxseed egg, mix 2 tablespoons of ground flaxseed with 6 tablespoons of water and let it sit for about 5 minutes until it becomes gel-like. This will help bind all the ingredients together beautifully, and you won’t miss the eggs at all!
Irresistibly Fudgy Biscoff Brownies You Can't Resist
Ingredients
Equipment
Method
- Preheat your oven to 350°F (175°C) and line an 8x8-inch baking pan with parchment paper.
- In a mixing bowl, combine 1 ½ cups of crushed Biscoff cookies with ½ cup of melted salted butter, then press into the bottom of the pan.
- Beat together 2 large eggs, ½ cup of granulated sugar, and ½ cup of packed brown sugar until thick and creamy.
- Mix in the ½ cup of cooled melted butter and 2 teaspoons of vanilla extract until well combined.
- Sift together ½ cup of all-purpose flour, ⅓ cup of unsweetened cocoa powder, and ¼ teaspoon of baking powder into the wet mixture and gently fold until just combined.
- Spread the brownie batter evenly over the prepared crust, then swirl in ⅓ cup of warm smooth Biscoff spread.
- Bake for 22–25 minutes, until the edges are set and a toothpick comes out mostly clean.
- Cool completely in the pan for about an hour, then lift out and cut into squares.
Leave a Reply