
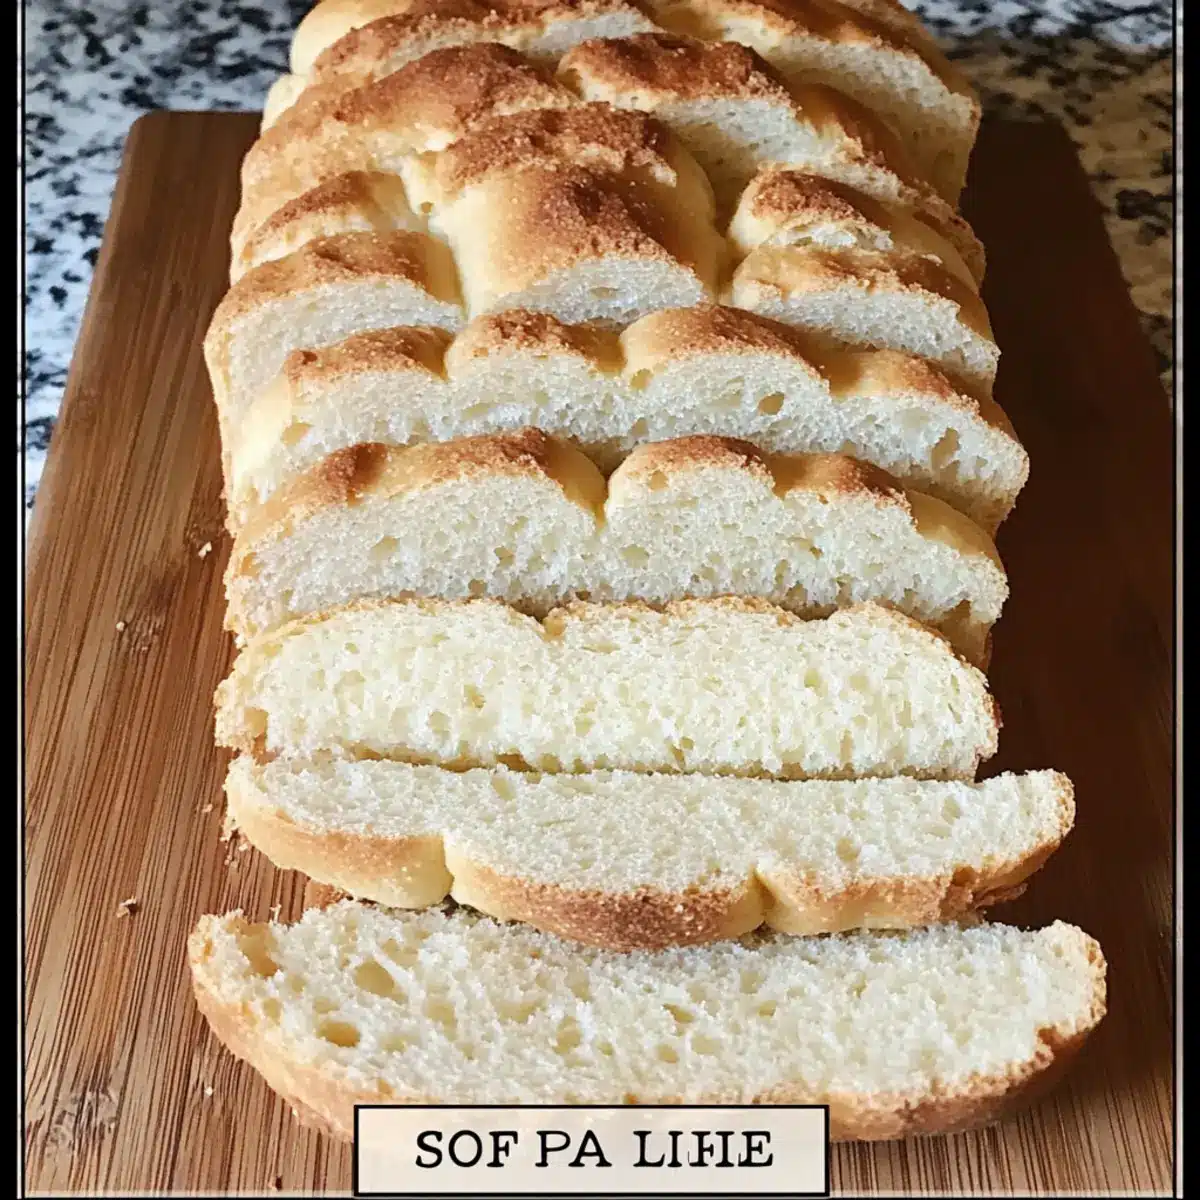
As I stood in my kitchen, the aroma of fresh-baked bread danced around me, instantly transporting me to a quaint bakery on a sunlit street. It’s hard to believe that such a soft homemade gluten-free bread can be both easy to make and utterly satisfying. This recipe not only delivers a tender, moist crumb that rivals any traditional loaf but also brings the comfort of homemade goodness to your table. Perfect for sandwiches, toasting, or simply slathering with butter and jam, it’s a delightful way to elevate your gluten-free dining experience. Plus, it’s completely healthy and free from presets that often accompany grocery store alternatives. Curious to discover how you can whip up this deliciousness in your own kitchen? Let’s dive in!
Why is This Gluten-Free Bread a Must-Try?
Simplicity: This soft homemade gluten-free bread is a breeze to make, requiring just a few simple ingredients and steps.
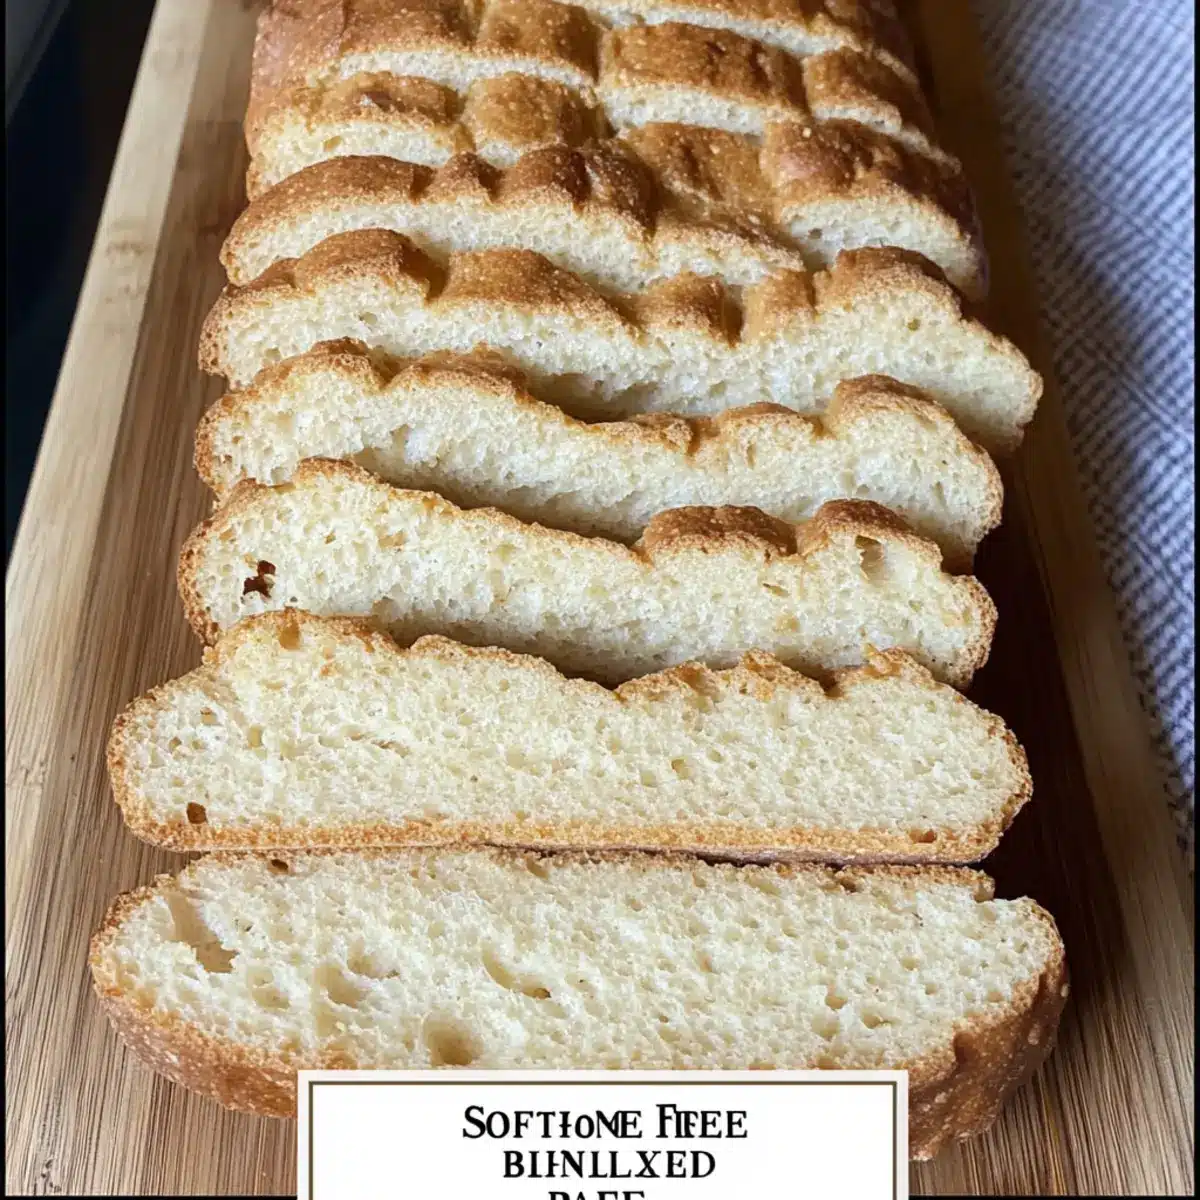
Irresistible texture: With its tender, airy crumb and delightful chew, this bread can easily replace your favorite traditional loaves.
Versatile: Perfect for sandwiches, toast, or even as an accompaniment to your soups and salads, this bread fits seamlessly into any meal.
Healthy benefits: Made from wholesome ingredients, it’s a guilt-free indulgence that everyone can appreciate.
Time-saving: Bake a loaf in about an hour, making it easy to enjoy fresh bread without the long wait.
Crowd-pleaser: Whether you’re hosting a gathering or just want to treat your family, this gluten-free delight is sure to impress! Also, check out Chip Pumpkin Bread for another delicious homemade option.
Soft Homemade Gluten-Free Bread Ingredients
• Discover the key components to create this delightful loaf!
For the Dough
- Warm Water – Provides hydration for the dough; aim for about 100°F (37°C) to activate the yeast perfectly.
- Honey – Acts as a natural sweetener and assists in proofing yeast; feel free to substitute with sugar or maple syrup.
- Active Yeast – Leavens the bread and gives it volume; can also be mixed directly into the dry ingredients if preferred.
- Rice Flour – The primary flour for structure; both white and brown rice flour are great options.
- Tapioca Starch – Adds moisture and aids in binding; tapioca flour works as a perfect alternative.
- Sorghum Flour – Contributes a lovely flavor, reminiscent of wheat; you can exchange this for buckwheat or oat flour if needed.
- Xanthan Gum – Provides elasticity and texture to mimic gluten; guar gum is a suitable replacement if necessary.
- Salt – Enhances flavor and controls yeast activity for better bread.
- Eggs – Add moisture and structure; using room temperature eggs will make mixing easier.
- Apple Cider Vinegar – Boosts flavor and helps achieve a lovely rise.
- Light Olive Oil – Introduces fat for softness and moisture; neutral-flavored oils work just as well.
For Serving Suggestions
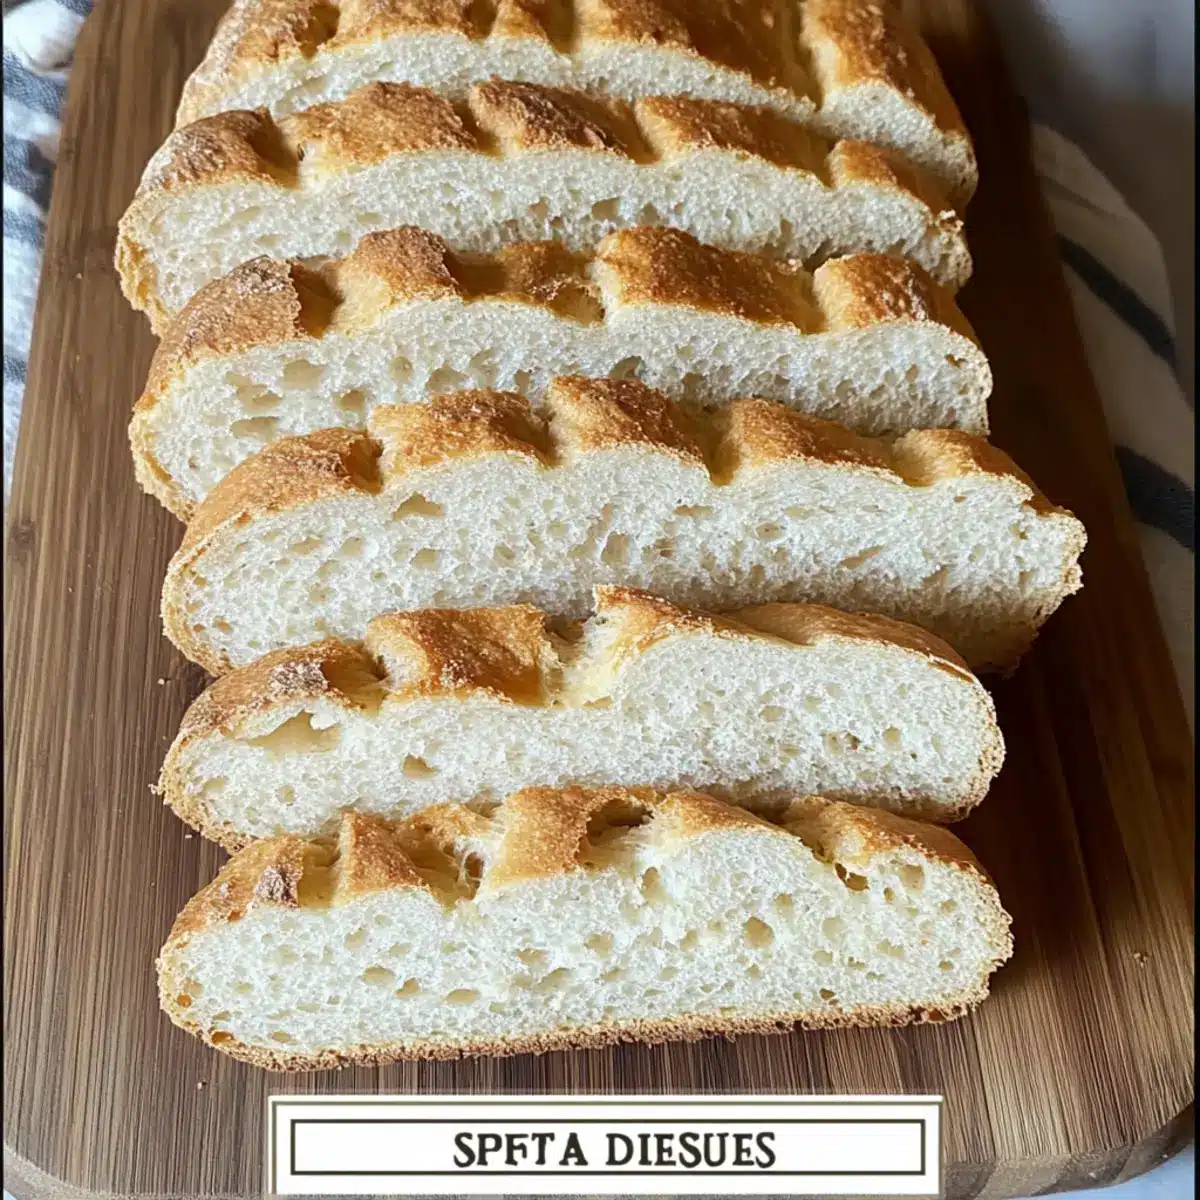
- Feel free to enjoy this soft homemade gluten-free bread for sandwiches, toasting, or alongside soups and salads for a complete meal!
Step‑by‑Step Instructions for Soft Homemade Gluten-Free Bread
Step 1: Proof Yeast
Begin by combining ¼ cup of warm water (about 100°F or 37°C) with honey in a small bowl. Stir in 2 ¼ teaspoons of active yeast and let it sit for approximately 10 minutes until frothy. This bubbling action indicates that the yeast is active and ready to create that light, airy texture in your soft homemade gluten-free bread.
Step 2: Mix Dry Ingredients
In a large mixing bowl, whisk together 2 cups of rice flour, ¾ cup of tapioca starch, ½ cup of sorghum flour, 1 teaspoon of xanthan gum, and 1 teaspoon of salt. Make sure to blend these ingredients well to create an even mixture that will help the structure of your gluten-free bread. This is the foundation for achieving a lovely soft crumb once baked.
Step 3: Combine Ingredients
Once your yeast mixture is frothy, combine it with the dry ingredients in the mixing bowl. Add the remaining ¾ cup of warm water, 2 tablespoons of light olive oil, 2 eggs at room temperature, and 1 tablespoon of apple cider vinegar. Gently fold the wet ingredients into the dry mix until just combined, ensuring everything is integrated for a smooth batter.
Step 4: Mix Batter
Using a hand mixer or stand mixer, beat the batter on medium speed for 1-2 minutes until smooth and slightly thickened. The batter should be glossy and somewhat sticky, which is characteristic of gluten-free mixes. This step is essential for developing air bubbles that will contribute to the rise and texture of your soft homemade gluten-free bread.
Step 5: Prepare for Rising
Pour the batter into a parchment-lined loaf pan, smooth the top gently with a spatula, and tap the pan on the counter a few times to release any air bubbles trapped in the batter. This preparation is key to ensuring an even rise, which will give your bread a nice shape once baked.
Step 6: Let Rise
Place the filled loaf pan in a warm area, such as an oven that is turned off but slightly warmed, and allow the batter to rise for about 1 hour. Keep an eye on it; the center should ideally rise no more than ¼ inch above the edge of the pan, resulting in a perfect loaf that won’t collapse during baking.
Step 7: Preheat Oven
While the dough is rising, preheat your oven to 350°F (180°C). It’s important that the oven is fully heated before placing the bread inside to ensure it bakes evenly and achieves that wonderful golden crust. This step is crucial for setting the texture of your soft homemade gluten-free bread.
Step 8: Bake
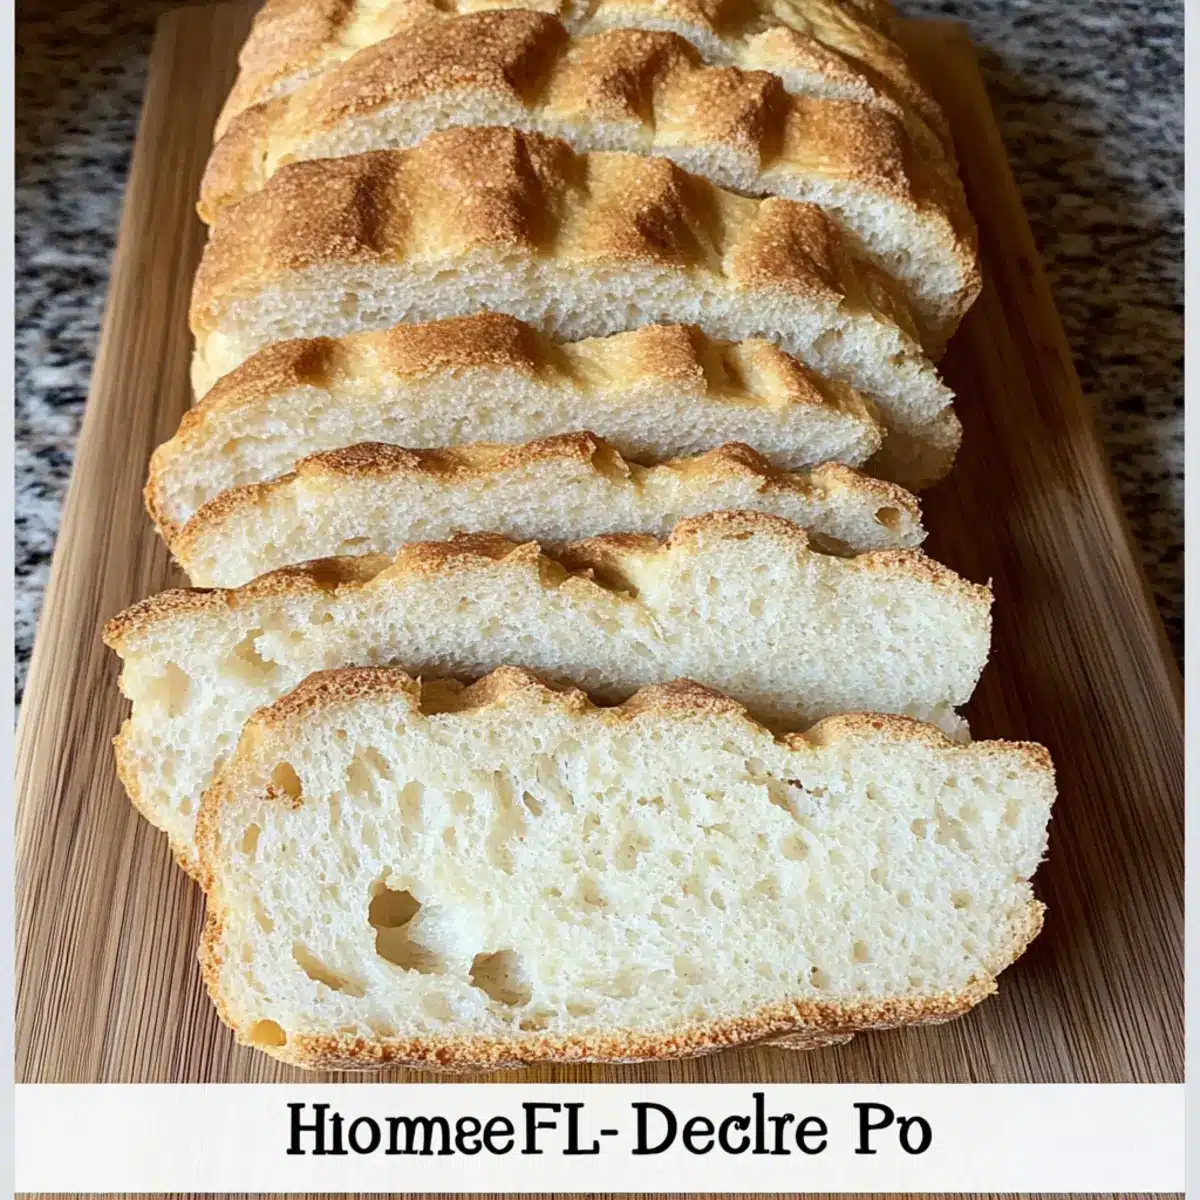
Once your bread has risen properly, place the loaf pan in the preheated oven. Bake for 45-60 minutes, or until the internal temperature reaches 200°F (93°C). When done, the crust should have a beautiful golden-brown color, and your kitchen will be filled with an enticing baking aroma that signals the bread is ready.
Step 9: Cool
After baking, allow the bread to cool in the pan for 5 minutes. Then, gently transfer it to a cooling rack to cool completely before slicing. This cooling period is essential for the texture to set. You’ll want to wait patiently as the enticing scent of your soft homemade gluten-free bread fills your home!
Soft Homemade Gluten-Free Bread Variations
Looking to elevate your baking game? With these delightful twists and substitutions, you can customize your soft homemade gluten-free bread to suit any palate or dietary need!
-
Cinnamon Raisin: Add 1-1.5 teaspoons of cinnamon and ¾ to 1 cup of raisins to the dry ingredients for a sweet treat. The sweet notes combined with the soft texture will make your mornings special!
-
Cheesy Jalapeño: Mix in ¾ cup of grated cheese and one sliced jalapeño for a spicy, savory flare. Imagine the aroma wafting from your kitchen as this flavorful bread bakes—a perfect companion for chili or soups.
-
Herb-Infused: Stir in 2 tablespoons of dried herbs like rosemary or thyme into the dry mixture. This will add a fragrant touch that pairs excellently with any meal. The delightful aroma will leave your guests eagerly anticipating that first slice!
-
Nutty Twist: Fold in ½ cup of chopped nuts, like walnuts or pecans, for added crunch and flavor. This adds interesting texture and nutrition, making each bite exciting!
-
Apple Cinnamon: For a sweet version, mix in 1 cup of diced apples and 1 teaspoon of cinnamon. It’s akin to a cozy apple pie in bread form—perfect for fall or anytime you crave comfort.
-
Flaxseed Option: Replace one egg with 1 tablespoon of flaxseed meal mixed with 2.5 tablespoons of water for a vegan alternative. This not only works great but adds a healthy boost to your loaf.
-
Different Flours: Use arrowroot flour in place of tapioca starch and guar gum instead of xanthan gum if you need to accommodate special dietary requirements. This ensures everyone enjoys your homemade goodness!
-
Serve with a Twist: Consider pairing this soft homemade gluten-free bread with a rich, homemade garlic herb butter for a gourmet touch that will impress your family and friends. Don’t forget to explore the possibilities of your new favorite Chip Pumpkin Bread as a delightful alternative treat for the seasons!
What to Serve with Soft Homemade Gluten-Free Bread
Delight in the aromatic experience of your freshly baked bread while considering what will make a memorable meal around it.
-
Creamy Avocado Spread:
This smooth, buttery spread adds a rich, healthy fat that enhances the flavors of your gluten-free bread. -
Hearty Vegetable Soup:
A warm bowl of vegetable soup not only complements the bread’s texture but creates a comforting, wholesome meal. -
Zesty Spinach Salad:
The freshness of tart, citrus-dressed spinach brings the perfect contrast to the doughy softness of homemade bread. -
Savory Cheese Platter:
Pair your bread with assorted cheeses for a gourmet touch, elevating simple sandwiches to delightful charcuterie creations. -
Garlic Butter Shrimp:
Juicy, garlic-infused shrimp bring a succulent seafood option that’s delightful with toasted slices. -
Grilled Chicken Sandwich:
Stack grilled chicken and fresh veggies between two slices for a satisfying meal that celebrates the soft bread’s versatility.
Baking this bread invites creativity into your meals, allowing endless possibilities to suit any craving!
Expert Tips for Soft Homemade Gluten-Free Bread
Proofing Yeast: Ensure the water is warm but not hot; temperatures over 120°F can kill the yeast, resulting in dense bread.
Measure Accurately: Use a kitchen scale for measuring flour; this will help achieve consistent results with your soft homemade gluten-free bread.
Monitor the Rise: Keep an eye on the dough during rising; overproofing can cause the bread to collapse when baking.
Avoid Overmixing: Mix the batter just until fully combined; overmixing may lead to a denser texture in your gluten-free bread.
Cooling Time: Allow the bread to cool completely before slicing to help maintain its structure and texture, ensuring a delightful result.
How to Store and Freeze Soft Homemade Gluten-Free Bread
Room Temperature: Store the bread in a sealed container at room temperature for up to 3 days to keep it fresh and delicious.
Fridge: If you want to extend the shelf life, refrigerate the bread for up to a week. Make sure it’s wrapped tightly to prevent drying out.
Freezer: Slice the bread and freeze individual pieces for up to 3 months. When ready to enjoy, toast slices directly from the freezer for a quick treat.
Reheating: For best results, reheat slices in the toaster or oven at 350°F (175°C) for about 10 minutes to revitalize the texture and flavor of your soft homemade gluten-free bread.
Make Ahead Options
These soft homemade gluten-free bread loaves are fantastic for meal prep enthusiasts looking to save time on busy weeknights! You can mix the dry ingredients (rice flour, tapioca starch, sorghum flour, xanthan gum, and salt) up to 3 days in advance; simply store them in an airtight container at room temperature to maintain their freshness. Alternatively, you can prepare the batter and pour it into the loaf pan, then cover and refrigerate it for up to 24 hours before letting it rise and baking. When you’re ready to enjoy your gluten-free bread, just take it out to warm up for about 30 minutes, allow it to rise, preheat the oven, and bake as instructed. This way, you can savor the delightful aroma and texture of freshly baked bread with minimal effort!
Soft Homemade Gluten-Free Bread Recipe FAQs
What’s the best way to choose ripe ingredients for gluten-free bread?
Absolutely! When selecting ingredients, choose warm water that’s around 100°F (37°C) to activate yeast properly. For honey, make sure it’s fresh and not crystallized, as this can impact sweetness and yeast activity. The eggs should be at room temperature for better mixing, ensuring a smooth batter without clumps.
How should I store my homemade gluten-free bread to keep it fresh?
Very easy! Store your soft homemade gluten-free bread in a sealed container at room temperature for up to 3 days. If you want to extend its freshness, refrigerate it for up to a week, making sure it’s wrapped tightly to prevent drying out.
Can I freeze my gluten-free bread? If so, how?
Yes! For freezing, slice the bread first. Place the slices in an airtight freezer bag or wrap them individually in plastic wrap, then store in the freezer for up to 3 months. When you’re ready to enjoy, simply toast the slices directly from the freezer for a quick and delightful treat!
What should I do if my gluten-free bread doesn’t rise properly?
If your bread doesn’t rise, it could be due to inactive yeast. Make sure your water for proofing is warm but not hot. If you notice the dough rising too much, it may have been left to rise for too long; always keep an eye on it, allowing it to rise only until the center is about ¼ inch above the edge of the pan before baking.
Are there any dietary considerations I should keep in mind when making this recipe?
Yes, absolutely! If you or someone you’re serving has allergies, be cautious with substitutions. For example, if you need to avoid eggs, you can use flaxseed meal or chia seeds mixed with water as a binding agent. Additionally, ensure all flours used are certified gluten-free, especially if you’re baking for someone with celiac disease or gluten intolerance.
Can I make variations of this gluten-free bread?
The more the merrier! You can easily adapt this recipe by adding in cinnamon and raisins for a sweet variation or incorporating cheddar cheese and jalapeños for a spicy kick. Just be mindful of any additional wet ingredients to maintain the right batter consistency. Enjoy experimenting!
Soft Homemade Gluten-Free Bread That's Easy and Irresistible
Ingredients
Equipment
Method
- Begin by combining ¼ cup of warm water with honey in a small bowl. Stir in 2 ¼ teaspoons of active yeast and let it sit for about 10 minutes until frothy.
- In a large mixing bowl, whisk together 2 cups of rice flour, ¾ cup of tapioca starch, ½ cup of sorghum flour, 1 teaspoon of xanthan gum, and 1 teaspoon of salt.
- Combine the frothy yeast mixture with the dry ingredients. Add ¾ cup of warm water, 2 tablespoons of light olive oil, 2 room temperature eggs, and 1 tablespoon of apple cider vinegar.
- Use a mixer to beat the batter on medium speed for 1-2 minutes until smooth and slightly thickened.
- Pour the batter into a parchment-lined loaf pan, smooth the top, and tap the pan on the counter a few times.
- Place the loaf pan in a warm area and allow it to rise for about 1 hour.
- Preheat your oven to 350°F (180°C) while the dough rises.
- Once the bread has risen, bake for 45-60 minutes, until the internal temperature reaches 200°F (93°C).
- Allow the bread to cool in the pan for 5 minutes before transferring to a cooling rack.
Leave a Reply