
As I whisked together the ingredients, a delightful wave of anticipation washed over me. There’s something undeniably enchanting about the process of baking a Jiggly Japanese Cotton Cheesecake. This light and fluffy dessert isn’t just a feast for the eyes; it’s a comforting hug on a plate. With its mildly sweet flavor and creamy texture, this Japanese cheesecake transforms any occasion into a celebration. Whether you’re impressing guests at a dinner party or treating yourself to a delightful dessert, its low-sugar profile and gluten-free adaptation make it an indulgence you can feel good about. The best part? It’s surprisingly easy to make. Are you ready to give your taste buds a little jolt of joy with this magical cheesecake?
Why is this Japanese Cheesecake special?
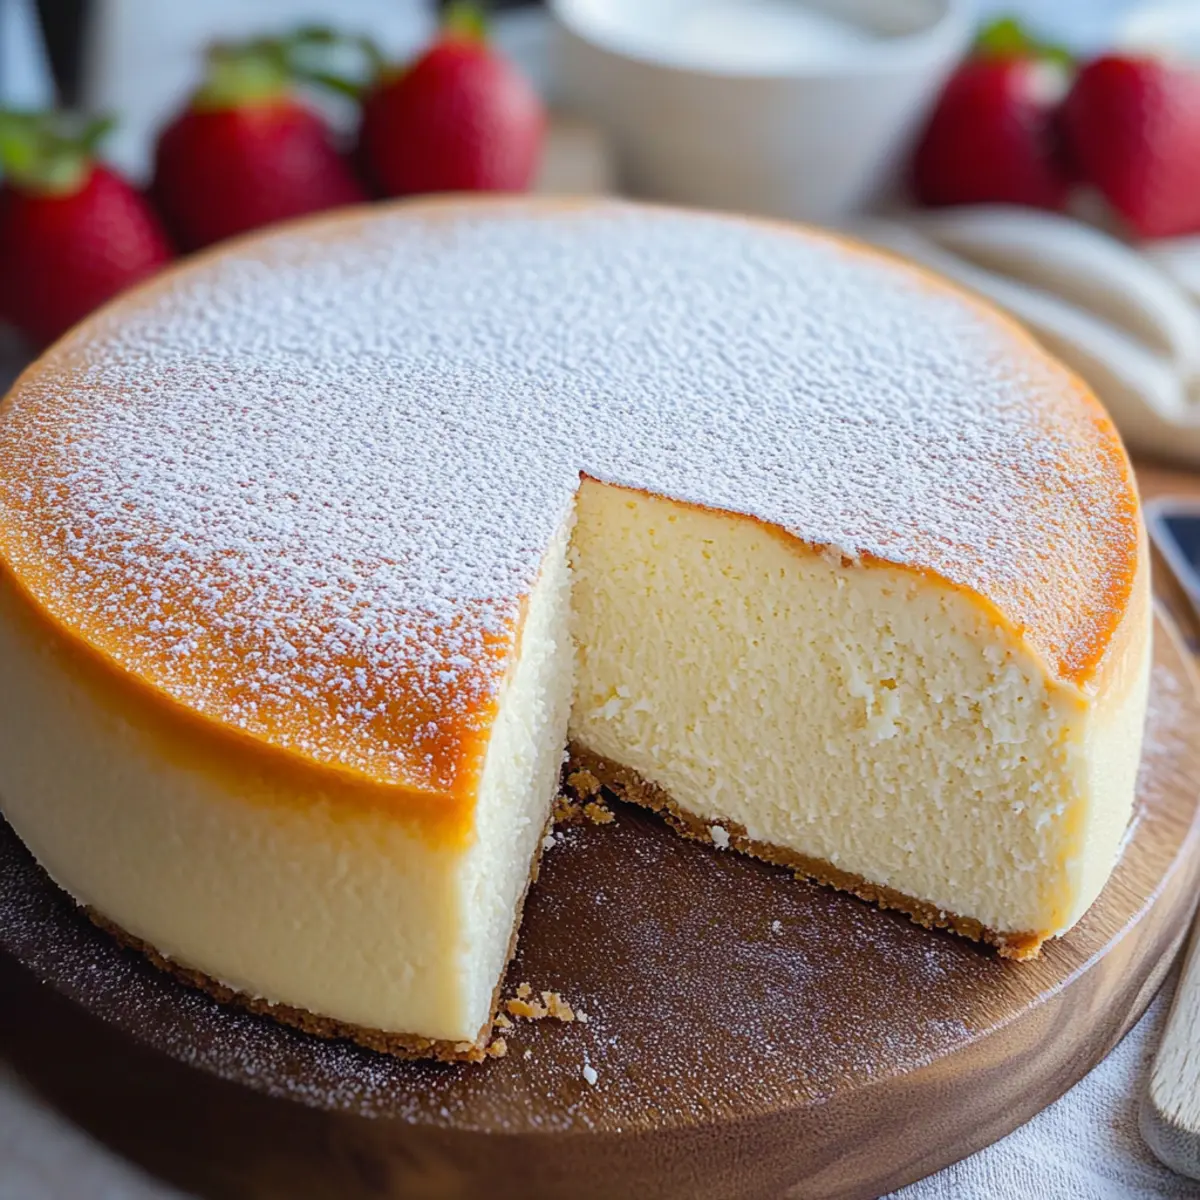
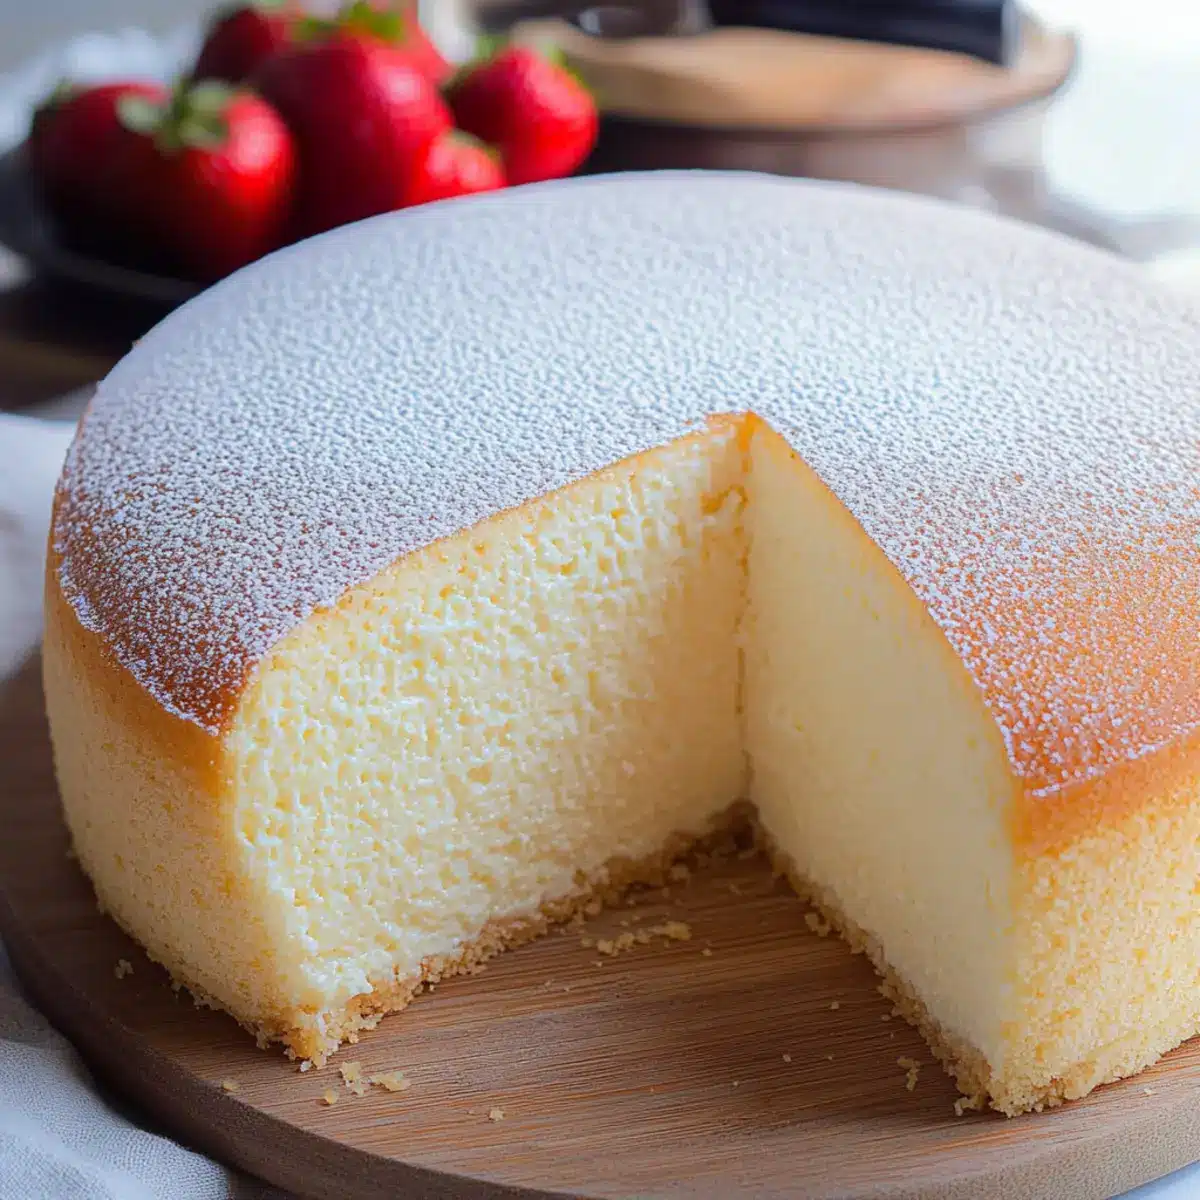
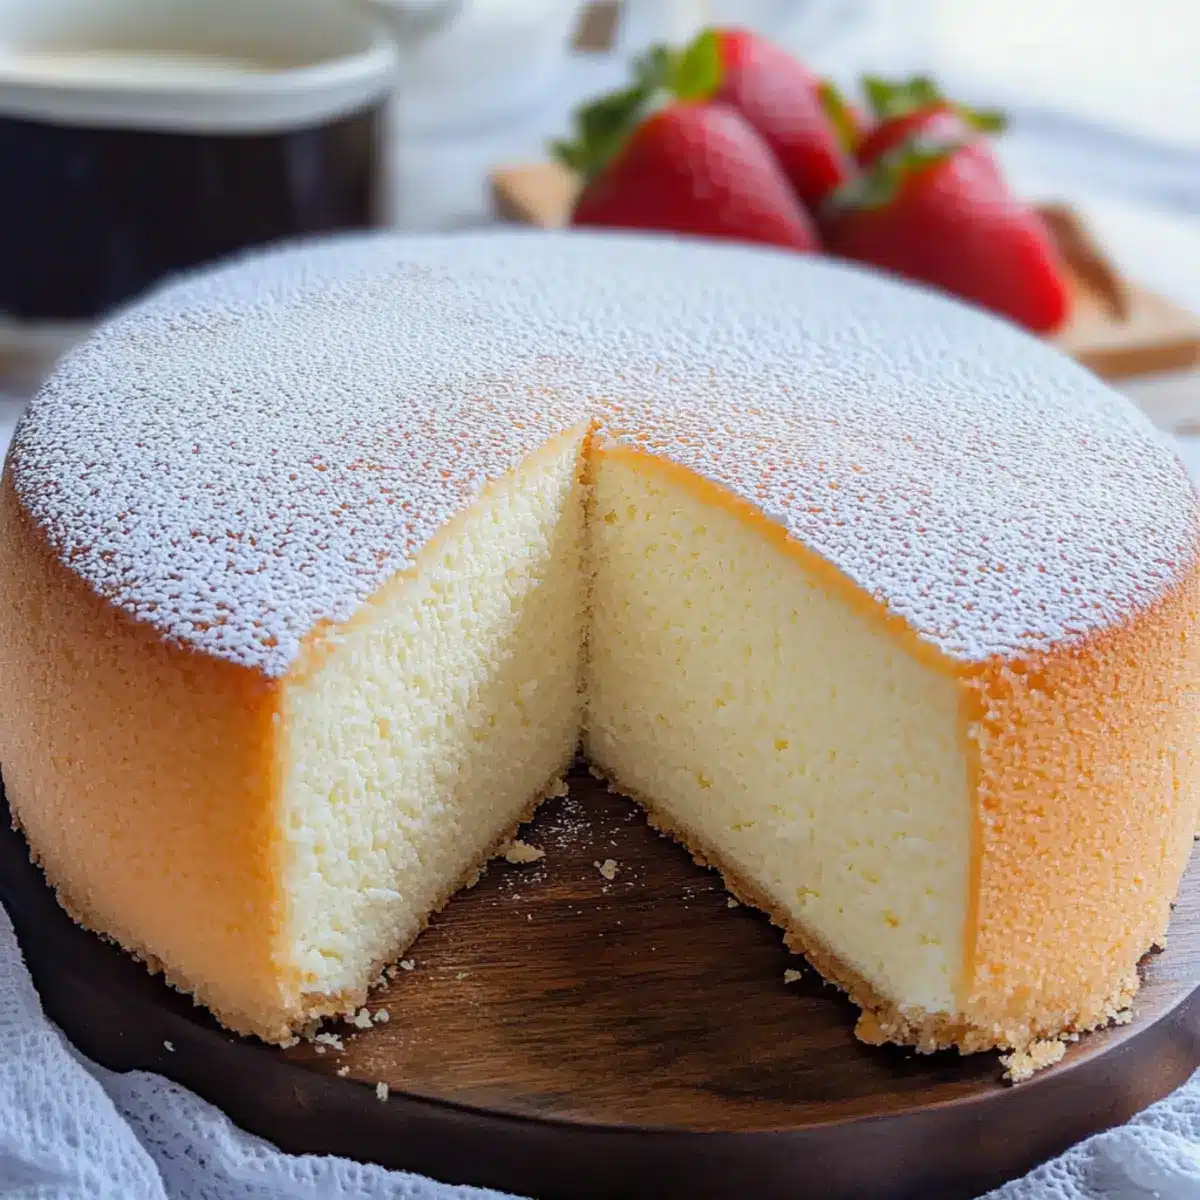
Unique Texture: The light and airy quality of this Japanese cheesecake is unlike any you’ve tasted, resembling a fluffy souffle with a beautiful jiggle.
Mildly Sweet Flavor: With its balanced sweetness, this dessert caters to those who want to satisfy their cravings without overwhelming their palates.
Simple Ingredients: The minimalist ingredient list enables anyone to recreate this delightful treat at home, making it accessible to both novice and seasoned bakers.
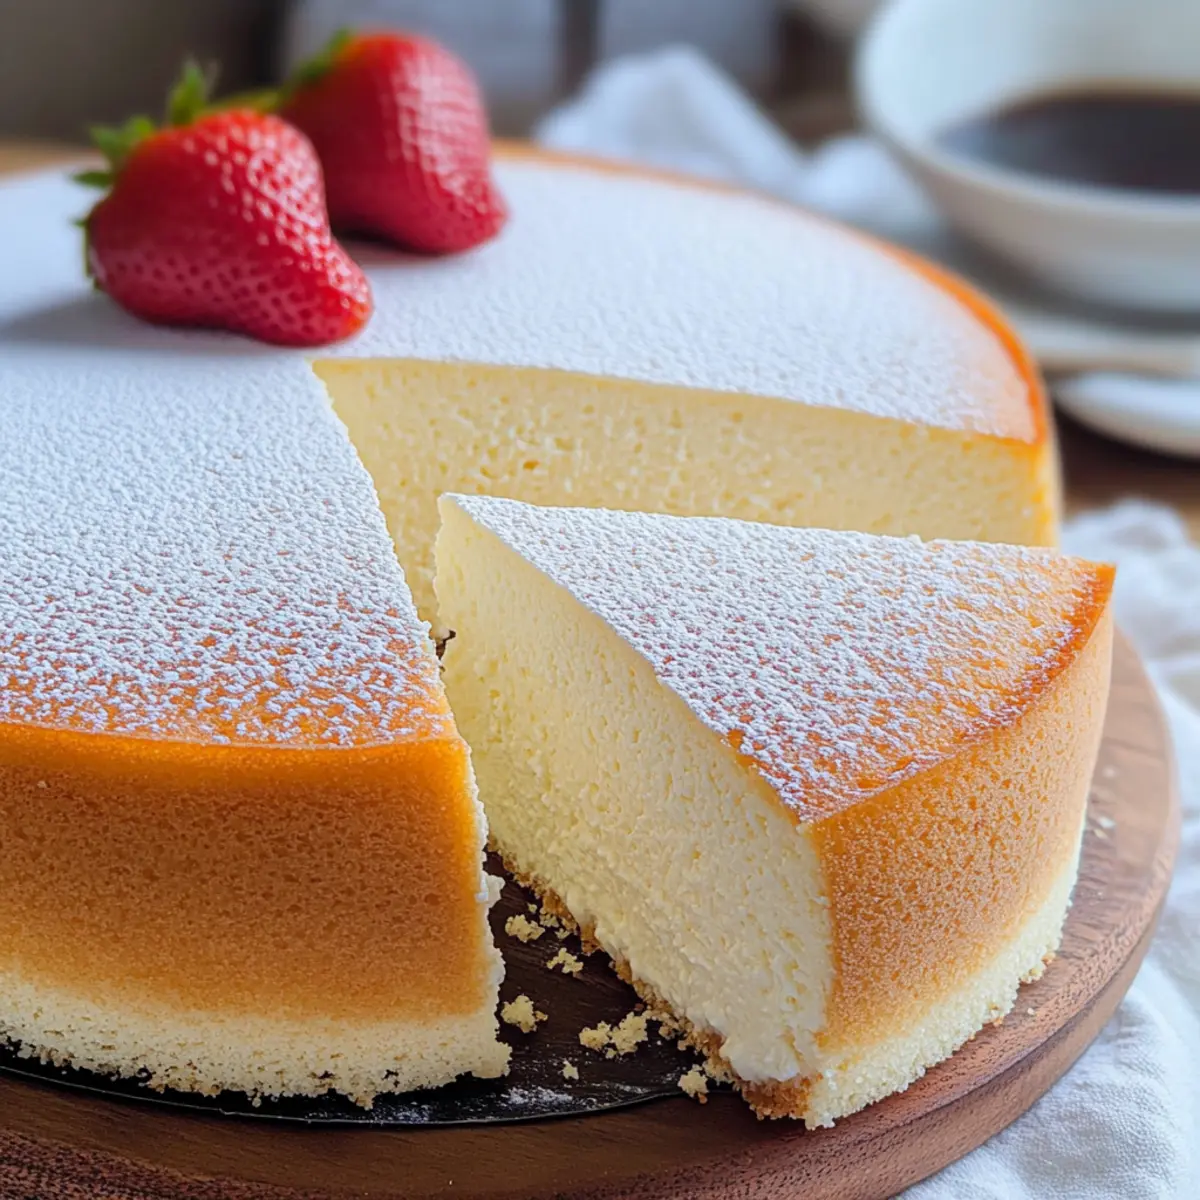
Versatile Serving Options: You can serve it warm, chilled, or at room temperature, with endless toppings like berries, whipped cream, or even a dusting of powdered sugar for that extra flair.
Healthy Adaptation: This recipe offers a lower-sugar, gluten-free version, allowing you to indulge without guilt. For more sweet ideas, check out these delicious Caramel Cheesecake Cookies.
Impressive Presentation: Your friends and family will be mesmerized by how stunning this cheesecake looks on your table, making it perfect for any celebration or as a sweet treat for yourself!
Japanese Cheesecake Ingredients
For the Batter
• Eggs (6 large, separated) – Essential for structure and leavening, providing the fluffy texture that defines this light dessert.
• Cream Cheese (8 ounces, softened) – The heart of the cheesecake, contributing to its richness and creamy consistency.
• Heavy Cream (¼ cup) – Adds moisture and richness; can be swapped for full-fat milk if desired.
• Unsalted Butter (4 tablespoons, cut into smaller pieces) – Enhances flavor and creaminess, ensuring a luxurious texture.
• Cake Flour (½ cup, fluffed) – Lightens the batter while providing necessary structure; substitute with all-purpose flour minus 1 tablespoon, plus 1 tablespoon cornstarch.
• Lemon Zest (1 tablespoon, optional) – Brightens the flavor profile with a hint of citrus.
• Vanilla Extract (1½ teaspoons, optional) – Deepens the overall taste, making it even more delightful.
• Granulated Sugar (⅓ cup) – Balances the flavors with a touch of sweetness.
• Lemon Juice (2 teaspoons, about ⅓ of a lemon) – Adds acidity that perfectly balances the sweetness for a harmonious flavor.
Optional Toppings
• Powdered Sugar – A light dusting adds a beautiful finish and a touch of sweetness.
• Apricot Jam – Drizzle on top for a glossy glaze that enhances presentation and flavor.
• Berries – Fresh fruits like strawberries or blueberries offer a pop of color and natural sweetness.
• Sweetened Whipped Cream – A fluffy topping that pairs perfectly with the creamy cheesecake.
This delightful Japanese cheesecake is a treat you won’t want to miss out on!
Step‑by‑Step Instructions for Jiggly Japanese Cheesecake
Step 1: Preheat Oven
Begin by preheating your oven to 300°F (149°C). While the oven warms up, prepare a water bath using a 9×9 baking pan filled halfway with simmering water. This bain-marie will ensure even baking and moisture, preventing cracks in your delightful Japanese cheesecake.
Step 2: Make Base Batter
In a heatproof bowl set over the simmering water, combine the softened cream cheese, unsalted butter, and heavy cream. Whisk these ingredients together until the mixture is completely smooth. Remove the bowl from heat, then add in the egg yolks, cake flour, lemon zest, and vanilla extract, mixing everything until you achieve a well-combined batter.
Step 3: Prepare Meringue
In a separate clean bowl, use an electric mixer to beat the egg whites with lemon juice until they become frothy. Gradually add the granulated sugar while continuing to beat the mixture until soft peaks form. Keep beating until you reach medium-soft peaks, which will provide the necessary fluffiness for your Japanese cheesecake.
Step 4: Combine Mixtures
Gently fold about a third of the prepared meringue into the cream cheese batter using a spatula to lighten it. After it’s well incorporated, gradually fold in the remaining meringue in two additions. Be careful to maintain as much air as possible in the mixture to keep your cheesecake light and airy.
Step 5: Bake
Pour the combined batter into the prepared cake pan and give it a gentle tap on the counter to remove any air bubbles. Carefully place the pan into the water bath, then bake in the preheated oven for 80-90 minutes. The cheesecake should be golden brown and a skewer inserted into the center should come out clean when done.
Step 6: Cool and Serve
Once baked, turn off the oven and let the cheesecake cool in the water bath for about 10 minutes. Next, cool the cheesecake on its side, rotating it every 20-30 seconds to prevent cracking. When completely cooled, gently flip it out of the pan, remove the parchment paper, and serve warm, chilled, or at room temperature, with your choice of optional toppings.
Japanese Cheesecake Variations & Substitutions
Feel free to have some fun with this recipe and make it your own — your taste buds will thank you!
-
Flavored Extracts: Add almond or matcha extract for a unique twist, infusing additional character to your cheesecake.
-
Citrus Alternatives: Swap lemon or lime juice with orange or grapefruit juice for a delightful citrus surprise that brightens the dessert.
-
Gluten-Free Flour: For a gluten-free version, substitute cake flour with a gluten-free all-purpose blend to keep the fluffy texture intact.
-
Dairy-Free Option: Use dairy-free cream cheese and coconut cream instead of heavy cream for a delicious plant-based adaptation.
-
Sweetener Swap: Replace granulated sugar with coconut sugar or a low-calorie sweetener for a lower-sugar alternative without losing flavor.
-
Rich Toppings: Elevate your cheesecake with decadent toppings like a drizzle of chocolate sauce or a dollop of fruit compote. These added flavors can transform every slice into a new experience.
-
Serving Suggestions: Serve with fresh berries or a light dusting of cocoa powder. For an added indulgence, try a layer of whipped cream on top!
With so many options, every baking session can feel like a delightful adventure! And if you’re curious about other sweet treats, don’t miss out on making these mouthwatering Caramel Cheesecake Cookies — they’re a fan favorite!
Expert Tips for Japanese Cheesecake
Light and Airy Meringue: Ensure egg whites are at room temperature; they whip better and create a lighter, fluffier Japanese cheesecake.
Gentle Folding: Be careful when folding the meringue into the batter. Use a spatula and employ a gentle motion to maintain the airiness of the mixture.
Monitor Baking Time: Keep an eye on the cheesecake as it bakes. If the top is pale but the center is set, broil for a minute or two to add color without overbaking.
Use a Water Bath: Always use a bain-marie to maintain moisture while baking, which will prevent cracks in your delicate cheesecake.
Cooling Process: Allow the cheesecake to cool in the oven with the door slightly ajar for about 10 minutes after baking. This gradual cooling helps prevent collapsing.
Make Ahead Options
Preparing Japanese Cheesecake ahead of time is a fantastic way to save time and enjoy this light and fluffy dessert on busy weeknights! You can make the batter up to 24 hours in advance and store it in the refrigerator, tightly covered. However, for the best texture, it’s recommended to bake the cheesecake on the day you plan to serve it. If you need to serve it later, once baked, you can refrigerate the cheesecake for 3 to 4 days. Ensure it’s wrapped to prevent drying out, and when ready to serve, allow it to come to room temperature or gently reheat it. With these make-ahead tips, you’ll have a show-stopping dessert ready with minimal fuss!
What to Serve with Jiggly Japanese Cheesecake
This light and dreamy dessert deserves to be complemented by delightful sides that will enhance your culinary experience.
-
Fresh Berries: Juicy strawberries or blueberries provide a burst of freshness that perfectly balances the cheesecake’s creamy texture.
-
Whipped Cream: Light and fluffy whipped cream serves as a perfect companion, adding richness while still keeping the dessert feeling airy.
-
Lemon Curd: A tangy lemon curd adds vibrant flavor and a delightful contrast to the sweet cheesecake, enhancing every bite.
-
Matcha Latte: This warm, earthy drink pairs beautifully with the light flavors of the cheesecake, offering a calming and balanced experience.
-
Chocolate Drizzle: A drizzle of melted dark chocolate transforms your cheesecake into an elegant treat with a touch of indulgence.
-
Apricot Jam: A glossy layer of apricot jam on top brings sweetness and a pop of color, making the dessert even more visually stunning.
For a delightful afternoon treat, pair the Japanese cheesecake with a cup of green tea, allowing the subtle flavors to harmonize beautifully while you enjoy your homemade creation.
How to Store and Freeze Japanese Cheesecake
Fridge: Store your Japanese cheesecake in an airtight container for up to 3-4 days. This keeps it fresh while maintaining the delightful texture and flavor.
Freezer: For longer storage, freeze the cheesecake in an airtight container for up to 2 months. Pre-cut pieces for easy portioning and thaw overnight in the fridge when ready to enjoy.
Reheating: To enjoy a slice, let it come to room temperature or gently reheat in the microwave for 10-15 seconds, just to soften without losing that lovely fluffiness.
Jiggly Japanese Cotton Cheesecake Recipe FAQs
What kind of eggs should I use for this cheesecake?
Absolutely, using large eggs is essential for this recipe. They provide the right amount of volume and structure to give your cheesecake that light and fluffy texture. Make sure they’re fresh for the best results!
How should I store my leftovers?
You can store your Japanese cheesecake in an airtight container in the refrigerator for up to 3-4 days. This keeps it fresh and ensures it maintains its delightful texture. If you notice any dark spots or an off smell, it’s best to discard it.
Can I freeze Japanese cheesecake?
Definitely! To freeze, place your Japanese cheesecake in an airtight container for up to 2 months. I recommend pre-cutting the cheesecake into individual slices, as this makes it easy to grab a piece whenever you’re craving a delightful treat. To thaw, simply transfer the slices to the fridge overnight.
What should I do if my cheesecake cracks while baking?
If your cheesecake cracks, don’t worry! This can happen if it’s baked at too high a temperature or if it cools too quickly. To prevent cracks, always use a water bath and let the cake cool gradually in the oven with the door ajar for about 10 minutes after baking. The gentle steaming from the water bath helps keep it moist, reducing the likelihood of cracks.
Is this cheesecake safe for individuals with gluten allergies?
Yes! This Japanese cheesecake can be made gluten-free by using a gluten-free cake flour alternative. You can also create your own by using all-purpose flour minus 1 tablespoon, plus 1 tablespoon of cornstarch to replicate cake flour’s low protein content. Always check your ingredients to avoid any gluten content.
Can I use different flavorings in this cheesecake?
Very much so! Feel free to experiment with flavored extracts like almond or even matcha for a unique twist. You can also adjust the citrus by using orange or lime juice instead of lemon to create different flavor profiles. The possibilities are endless!
Jiggly Japanese Cheesecake: A Light and Dreamy Delight
Ingredients
Equipment
Method
- Preheat your oven to 300°F (149°C) and prepare a water bath using a 9x9 baking pan filled halfway with simmering water.
- In a heatproof bowl set over simmering water, whisk together cream cheese, unsalted butter, and heavy cream until smooth. Add egg yolks, cake flour, lemon zest, and vanilla extract, mixing until well combined.
- In a separate bowl, beat egg whites with lemon juice until frothy. Gradually add granulated sugar and continue to beat until medium-soft peaks form.
- Gently fold a third of the meringue into the cream cheese batter, then gradually fold in the remaining meringue.
- Pour the batter into the prepared pan and gently tap to remove air bubbles. Place into the water bath and bake for 80-90 minutes.
- Turn off the oven and let cheesecake cool in the water bath for 10 minutes. Rotate it on its side to cool completely, then remove from the pan and serve.
Leave a Reply