
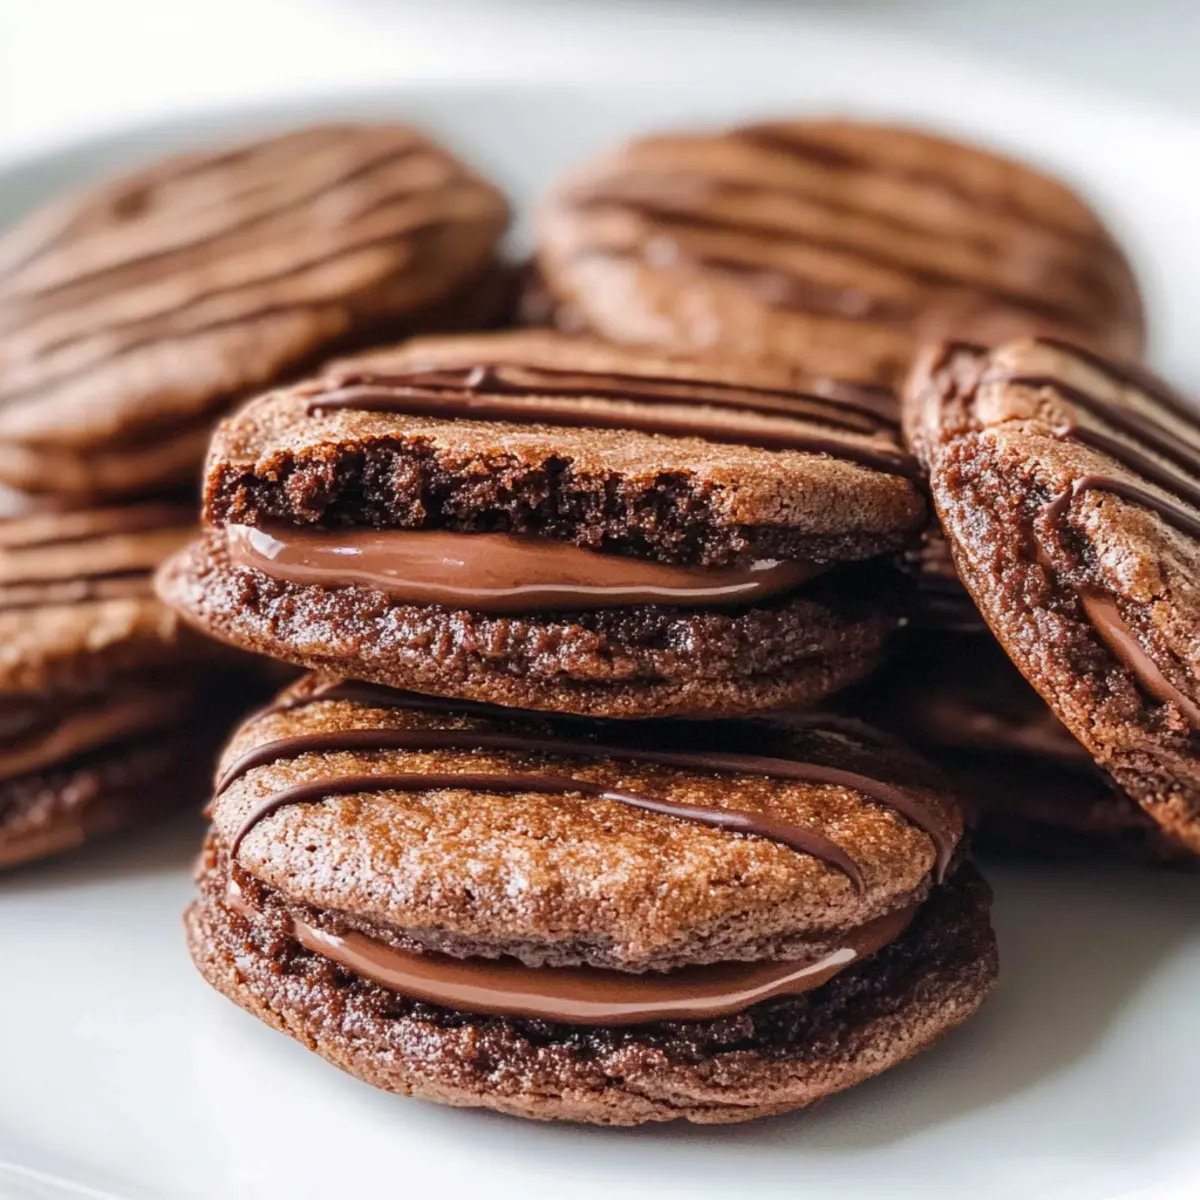
As I wandered down the snack aisle recently, I couldn’t help but recall those blissful moments of biting into a soft, chocolatey Fudge Round—pure perfection wrapped in nostalgia. Today, I’m excited to share my Homemade Fudge Rounds recipe, which takes that beloved treat and elevates it to a deliciously wholesome level. These chewy, fudgy chocolate sandwich cookies are not only easy to make but also free from the excess artificial ingredients found in their store-bought counterparts. Whether you’re hosting a cozy gathering or simply craving a sweet indulgence, these cookies are sure to please everyone. Ready to rekindle your fondest snack memories while treating yourself to homemade goodness? Let’s dive in!
Why choose Homemade Fudge Rounds?
Nostalgic Delight: Every bite transports you to your childhood, evoking joyful memories of soft, chocolatey goodness.
Healthier Indulgence: Crafted with natural ingredients, these fudge rounds skip the artificial additives while delivering rich flavor.
Effortless Baking: Even beginners can whip these up with ease, making it a fun family activity to enjoy together.
Versatile Treat: Perfect for any occasion, whether it’s a cozy night in or a party snack—everyone will adore them!
Customizable Flavors: Get creative by adding nuts, different fillings, or even trying out variations like Soft Homemade Gluten for a twist.
Homemade Fudge Rounds Ingredients
For the Cookies
• Unsalted Butter (10 tablespoons / 142 grams) – Adds richness and moisture; ensure it’s at cool room temperature for easy mixing.
• Granulated Sugar (3/4 cup / 150 grams) – Sweetens the cookies while contributing to their chewy texture, enhancing the flavor of your Homemade Fudge Rounds.
• Large Egg (1) – Binds the ingredients and adds moisture; use at cool room temperature for best results.
• Light Corn Syrup (1 tablespoon) – Prevents sugar crystallization, enhancing the chewy, fudgy texture; golden syrup can be substituted for a twist.
• Vanilla Extract (1 teaspoon) – Provides a warm, aromatic flavor that complements the chocolate beautifully.
• All-Purpose Flour (1 1/4 cups / 159 grams) – The main structure-building ingredient, giving stability and chewiness to the cookies.
• Unsweetened Natural Cocoa Powder (6 tablespoons / 32 grams) – Adds the deep, rich chocolate flavor that is essential for Fudge Rounds.
• Cornstarch (1 teaspoon) – Softens texture, making the cookies tender and chewy.
• Baking Soda (1/2 teaspoon) – Helps the cookies rise, creating that puffy texture you love.
• Fine Sea Salt (1/4 teaspoon) – Balances sweetness and enhances overall flavor, bringing out the best in chocolate.
For the Filling
• Milk Chocolate Chips (1/2 cup / 85 grams) – Provides a sweet and melty chocolate surprise in the center of each cookie.
• Vegetable Oil (1 teaspoon) – Adds moisture to the filling, ensuring it’s luscious and creamy.
Step‑by‑Step Instructions for Homemade Fudge Rounds
Step 1: Preheat and Prepare
Begin by preheating your oven to 350°F (175°C). While the oven heats, line two baking sheets with parchment paper to prevent sticking. This ensures your Homemade Fudge Rounds will bake evenly and release easily, maintaining their delightful shape.
Step 2: Cream Butter and Sugar
In a large mixing bowl, cream together 10 tablespoons of unsalted butter and 3/4 cup of granulated sugar until light and fluffy, about 2-3 minutes. The mixture should appear pale in color and slightly voluminous—it’s a key starting point for a rich cookie texture.
Step 3: Add Wet Ingredients
Crack in 1 large egg, followed by 1 tablespoon of light corn syrup and 1 teaspoon of vanilla extract. Mix until fully combined and smooth, ensuring all ingredients are well blended. This step builds the flavor profile in your Homemade Fudge Rounds and adds necessary moisture.
Step 4: Combine Dry Ingredients
In a separate bowl, whisk together 1 1/4 cups of all-purpose flour, 6 tablespoons of unsweetened cocoa powder, 1 teaspoon of cornstarch, 1/2 teaspoon of baking soda, and 1/4 teaspoon of fine sea salt. This blend will create the foundation of your cookies’ texture and flavor, ensuring they’re fudgy yet structured.
Step 5: Mix Wet and Dry Ingredients
Gradually add the dry ingredients to the butter mixture, mixing until just combined. Be careful not to overmix; you want a thick, cohesive dough that will yield a rich-filled cookie. This is a crucial moment for achieving the signature chewiness of your Homemade Fudge Rounds.
Step 6: Fold in Chocolate Chips
Gently fold in 1/2 cup of milk chocolate chips until evenly dispersed throughout the dough. This will create delightful pockets of melted chocolate in each bite, enhancing the overall indulgence of your cookies. The dough should be thick and sticky, reflecting the fudginess expected from this treat.
Step 7: Scoop Dough onto Baking Sheets
Using a 1 ½-tablespoon scoop, drop balls of dough onto your prepared baking sheets, spacing them about 2 inches apart. This helps ensure they have room to spread while baking and allows for that cozy filling in between. Aim for uniform sizes for even baking.
Step 8: Bake the Cookies
Bake the cookies in your preheated oven for 8 to 9 minutes. Watch for the edges to set and for a slight puffing in the center. They should appear soft but not undercooked; the magic happens as they cool and achieve that chewy texture characteristic of Homemade Fudge Rounds.
Step 9: Cool the Cookies
Once baked, allow the cookies to cool on the baking sheets for about 5 minutes. This resting period helps firms up their structure. Afterward, transfer them to wire racks to cool completely, preparing for the delectable filling that will bring these cookies together.
Step 10: Prepare the Filling
For the luscious filling, beat the remaining butter with sifted cocoa powder and powdered sugar until fluffy. Gradually add warm water and a splash of vanilla extract if needed, achieving a spreadable consistency that compliments the rich flavors of your Homemade Fudge Rounds.
Step 11: Assemble the Fudge Rounds
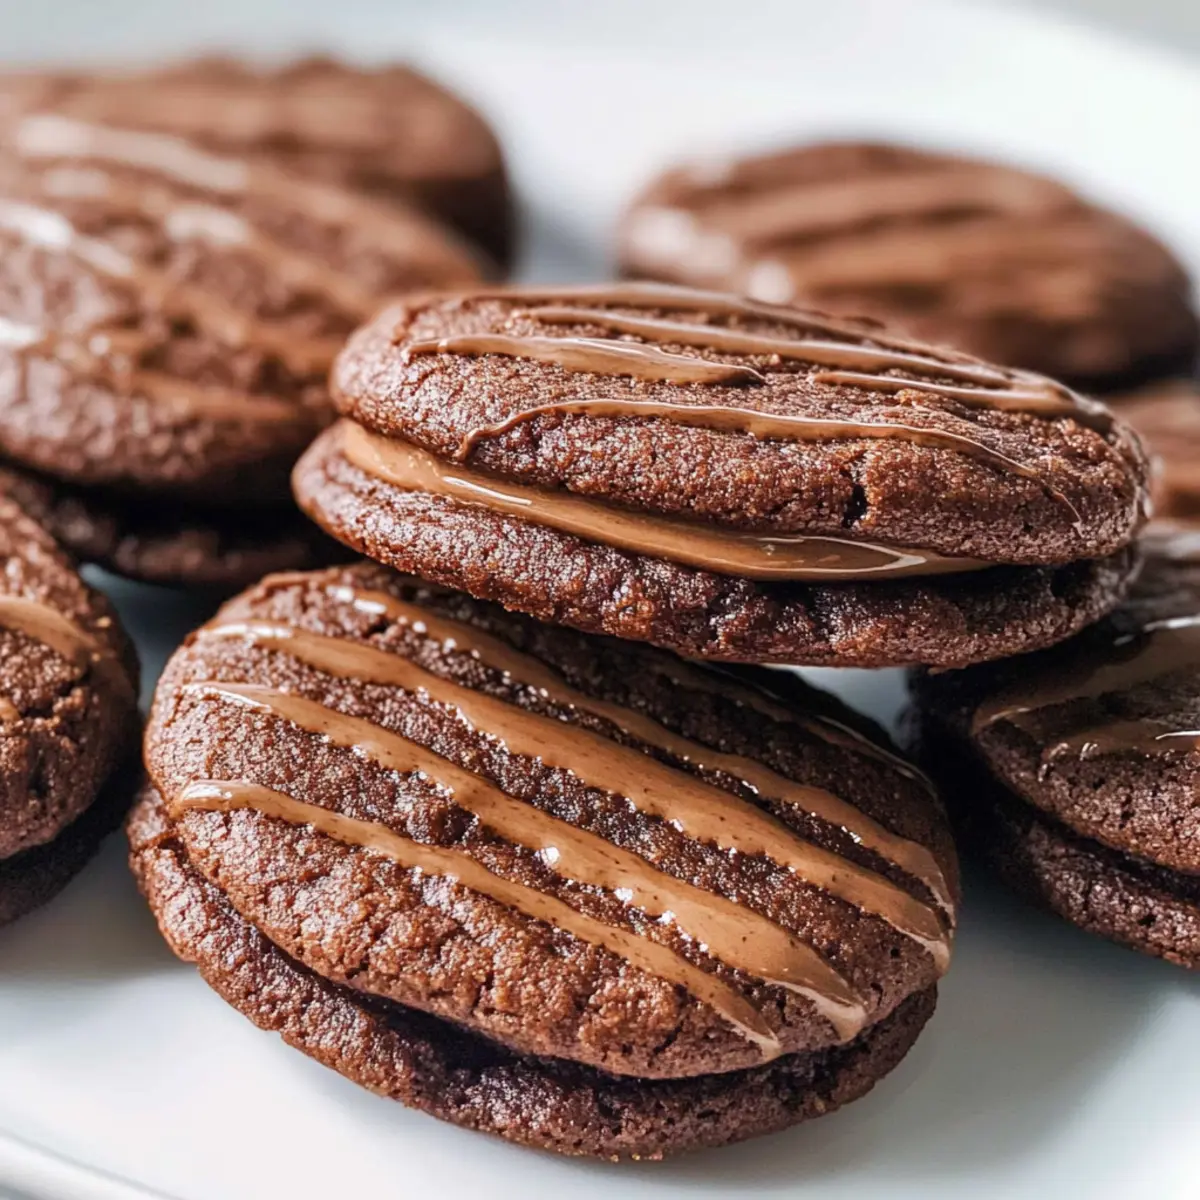
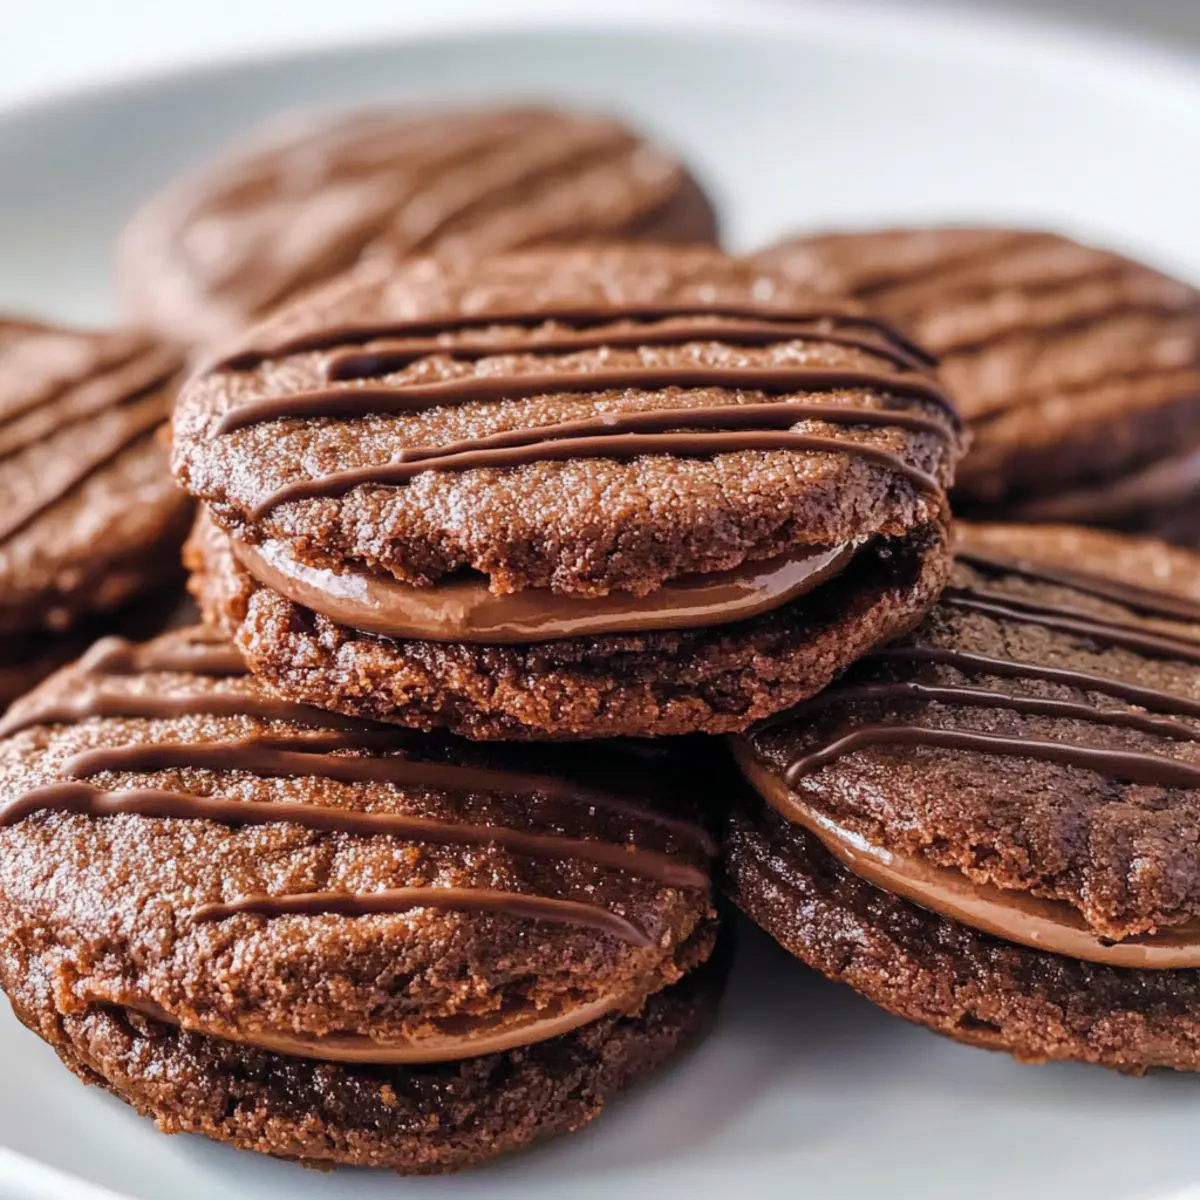
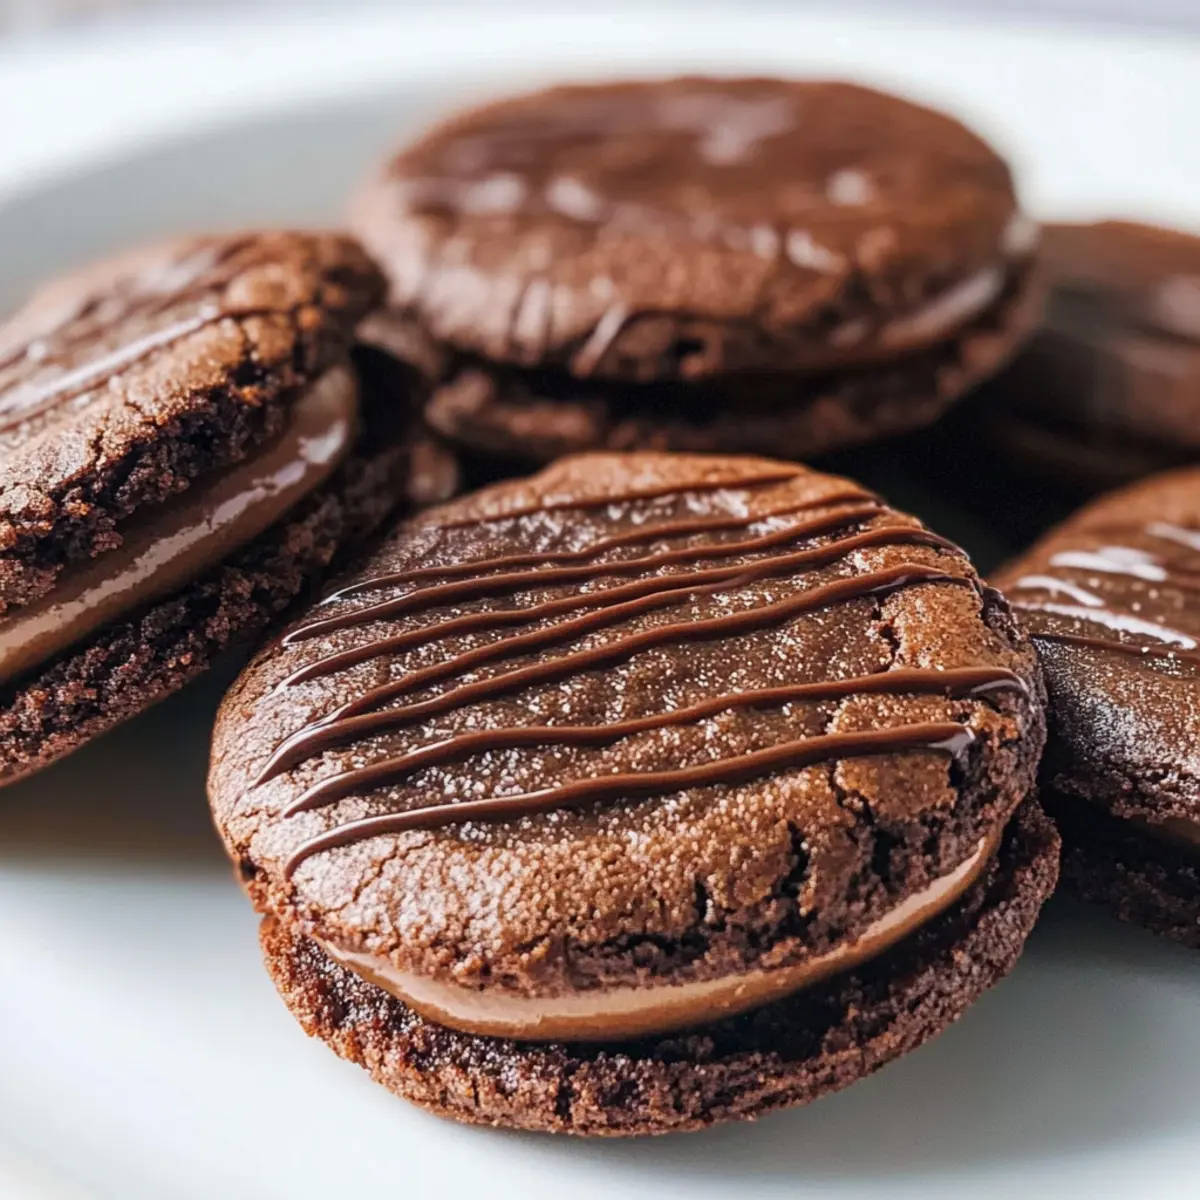
Once the cookies are completely cool, spread a generous layer of the chocolate filling on the flat side of one cookie, then top with another cookie, pressing gently to create a delicious sandwich. This step brings the wonderful fudge experience to life, combining textures and flavors perfectly.
Step 12: Serve and Enjoy
Your Homemade Fudge Rounds are now ready to be savored! Serve them at room temperature for traditional cookie delight, or pop them in the fridge for a fudgy treat experience. Each bite will take you back to fond memories while treating your taste buds to something special.
Storage Tips for Homemade Fudge Rounds
Room Temperature: Store assembled cookies in an airtight container at room temperature for up to 1 day to maintain their soft texture.
Fridge: If you’d like to enjoy them longer, refrigerate the cookies in an airtight container for up to 5 days, allowing the flavors to meld beautifully.
Freezer: For extended storage, freeze the cookies in a single layer, then transfer to a freezer-safe bag or container for up to 1 month. Thaw them at room temperature before serving.
Reheating: To enjoy a warm cookie experience, gently reheat the Homemade Fudge Rounds in the microwave for a few seconds or in the oven at low heat.
Expert Tips for Homemade Fudge Rounds
• Accurate Measurements: Use a scale for precise ingredient amounts; even minor discrepancies can significantly alter the texture of your Homemade Fudge Rounds.
• Corn Syrup Essential: Don’t skip the corn syrup; it’s critical to achieving that chewy, fudgy texture we all love in fudge rounds.
• Chill the Dough: Refrigerate the dough for 30 minutes before baking. This helps control spread and enhances the thickness of your cookies.
• Puff and Set: Keep an eye on your cookies as they bake. They should be slightly puffed and set around the edges, indicating they’re perfectly chewy.
• Cooling Time Matters: Let the cookies cool on the baking sheets before transferring them to wire racks. This step ensures they firm up nicely for assembly.
Make Ahead Options
These Homemade Fudge Rounds are perfect for busy cooks looking to save time during hectic weeknights! You can prepare the cookie dough up to 24 hours in advance; simply cover it tightly and refrigerate to maintain freshness. Additionally, the assembled cookies can be stored in an airtight container at room temperature for up to 1 day or in the refrigerator for up to 5 days—just be sure to keep the filling moist by storing it well. When ready to enjoy, allow them to come to room temperature or serve chilled for a fudgy delight. This prep-ahead flexibility means you can savor nostalgic moments without the stress!
What to Serve with Homemade Fudge Rounds?
When it comes to crafting the perfect snack spread, these fudgy delights are just the beginning of a delightful experience.
- Whipped Cream: Light and airy, a dollop of fresh whipped cream adds a creamy contrast to the rich cookies.
- Coffee: The deep, bold flavors of coffee perfectly complement the chocolate, making each bite even more decadent.
- Vanilla Ice Cream: Serve alongside a scoop of vanilla ice cream for a truly indulgent treat that cools down all that fudgy goodness.
- Fresh Berries: A handful of berries brings a burst of freshness and tartness that cuts through the sweetness, creating balance.
- Mint Hot Chocolate: Rich and comforting, this drink’s peppermint undertones harmonize beautifully with the chocolate cookies.
- Chocolate Dipping Sauce: Elevate your Fudge Rounds by dipping them in warm chocolate sauce for an extra layer of decadence.
- Nutty Granola: Sprinkle some crunchy granola on the side for a delightful texture contrast, enhancing the cookie experience.
- Caramel Drizzle: A sweet, buttery caramel sauce drizzled atop adds a rich, luxurious finishing touch that chocolate lovers will crave.
- Chai Tea: The aromatic spices in chai tea offer a cozy pairing that enhances the warm flavors of the homemade cookies.
- Chocolate Milk: A childhood classic, chocolate milk alongside these Fudge Rounds offers a nostalgic nod to lunchbox treats everyone loves.
Homemade Fudge Rounds Variations
Feel free to get creative with your Homemade Fudge Rounds and make them your own; these ideas are sure to inspire your inner baker!
-
Golden Syrup: Substitute corn syrup with golden syrup for a unique flavor twist that enhances the sweetness beautifully.
Replace the corn syrup, and delight in the subtle notes of caramel embedded within the chocolate. -
Nutty Addition: Stir in chopped walnuts or pecans to the dough for a delightful crunch.
These nuts not only add texture but also pair wonderfully with the rich chocolate, creating a more complex flavor profile. -
Flavor Infusions: Add a teaspoon of espresso powder for a subtle coffee kick.
This enriches the chocolate flavor, giving your Homemade Fudge Rounds a sophisticated edge perfect for adult palate satisfaction. -
Dairy-Free Delight: Swap out the milk chocolate chips for dark chocolate or dairy-free chips for a vegan-friendly version.
You still get that satisfying fudgy experience minus the dairy, inviting everyone to enjoy these nostalgic treats. -
Fruity Filling: Mix in a splash of fruit puree, like raspberry or cherry, into the buttercream filling for a refreshing tang.
This unexpected twist complements the chocolate’s richness and adds a fun layer of flavor—perfect for those warmer days! -
Spicy Surprise: Add a pinch of cayenne pepper to the cookie dough for a surprising heat kick!
This unique blend of spicy and sweet will intrigue your taste buds and impress adventurous eaters. -
Gluten-Free Option: Substitute all-purpose flour with a gluten-free blend or Soft Homemade Gluten for those with dietary restrictions.
This way, everyone can enjoy the classic taste of Homemade Fudge Rounds without the gluten. -
Cream Cheese Frosting: For a creamy filling, opt for a tangy cream cheese frosting instead of chocolate.
This creates a lovely contrast to the fudge and gives a refreshing twist that many will adore.
Homemade Fudge Rounds Recipe FAQs
How do I select the best ingredients for Homemade Fudge Rounds?
Absolutely! For the best results, choose unsalted butter that’s at cool room temperature for easy mixing. Make sure your granulated sugar is fresh and fine; using ingredients that are too old can affect the texture. When selecting cocoa powder, opt for a high-quality unsweetened variety to enhance that rich chocolate flavor your fudge rounds deserve.
What is the best way to store Homemade Fudge Rounds?
To keep your Homemade Fudge Rounds fresh, store them in an airtight container at room temperature for up to 1 day. If you want to enjoy them longer, they can be refrigerated for up to 5 days. Just allow them to come to room temperature before serving to revitalize their soft, chewy texture.
Can I freeze Homemade Fudge Rounds? If so, how?
Absolutely! To freeze your fudge rounds, first, let the baked cookies cool completely. Then, arrange them in a single layer on a baking sheet and place them in the freezer for about an hour until they’re firm. Once frozen, transfer them to a freezer-safe bag or container, ensuring to remove as much air as possible. They can be frozen for up to 1 month. Thaw at room temperature when you’re ready to enjoy them!
What should I do if my cookies aren’t spreading as intended?
Very! If your cookies don’t spread as desired, don’t fret. You can gently flatten the dough balls before baking. Alternatively, if you find your dough is too thick, consider refrigerating it for about 30 minutes first, which can help maintain the structure without over-spreading.
Are there dietary considerations for pets or allergies with these cookies?
When making Homemade Fudge Rounds, it’s always wise to be mindful of allergies, particularly related to the egg, butter, and chocolate. Since chocolate is toxic to dogs, ensure that any leftovers are stored securely away from pets. For those with gluten sensitivities, consider making a gluten-free alternative by substituting the all-purpose flour with a 1:1 gluten-free flour blend. I recommend checking ingredient labels to avoid hidden allergens, too!
Homemade Fudge Rounds - Decadent Chocolatey Bliss Await!
Ingredients
Equipment
Method
- Preheat your oven to 350°F (175°C) and line two baking sheets with parchment paper.
- Cream together the butter and sugar until light and fluffy, about 2-3 minutes.
- Add the egg, corn syrup, and vanilla extract; mix until fully combined.
- Whisk together the flour, cocoa powder, cornstarch, baking soda, and salt in a separate bowl.
- Gradually add the dry ingredients to the wet mixture and mix until just combined.
- Fold in the milk chocolate chips gently until evenly distributed.
- Scoop tablespoon-sized balls of dough onto prepared baking sheets, spacing 2 inches apart.
- Bake for 8 to 9 minutes until the edges are set.
- Allow cookies to cool on baking sheets for about 5 minutes before transferring to wire racks.
- Beat the remaining butter with cocoa powder and powdered sugar until fluffy, adding warm water as needed for consistency.
- Spread a layer of chocolate filling on the flat side of one cookie, then top with another cookie.
- Serve at room temperature or refrigerate for a fudgy treat.
Leave a Reply